

INSTALLING YOUR PRESETS
Please Note:
These presets are intended for Adobe Cloud subscribers.
As of Lightroom Classic CC version 7.3, all presets are saved as .xmp files and are no longer saved as .ltrtemplate files within the Lightroom application. If you have have a version of Lightroom that’s 7.2 or older, you will need to use the .lrtemplate files.
QUICK LINKS:
LIGHTROOM DESKTOP CC + MOBILE CC INSTRUCTIONS
LIGHTROOM CLASSIC CC VERSION 7.3 OR LATER INSTRUCTIONS
LIGHTROOM CLASSIC CC VERSION 7.2 OR EALIER INSTRUCTIONS
Installing .xmp preset files on lightroom Classic CC version 7.3 or later
— Navigate to Lightroom -> Preferences
— In the window that pops up, navigate to the 'Presets' tab.
— Make sure 'Store presets within this catalogue' is unchecked.
— Close the pop up window.
— Select the + next to the Presets tab on the lefthand side of Lightroom.
— Select ‘Import Presets’
— Select the .xmp files you want to import.
— They will now be imported into your catalogue. You may need to restart the application in order for them to appear.
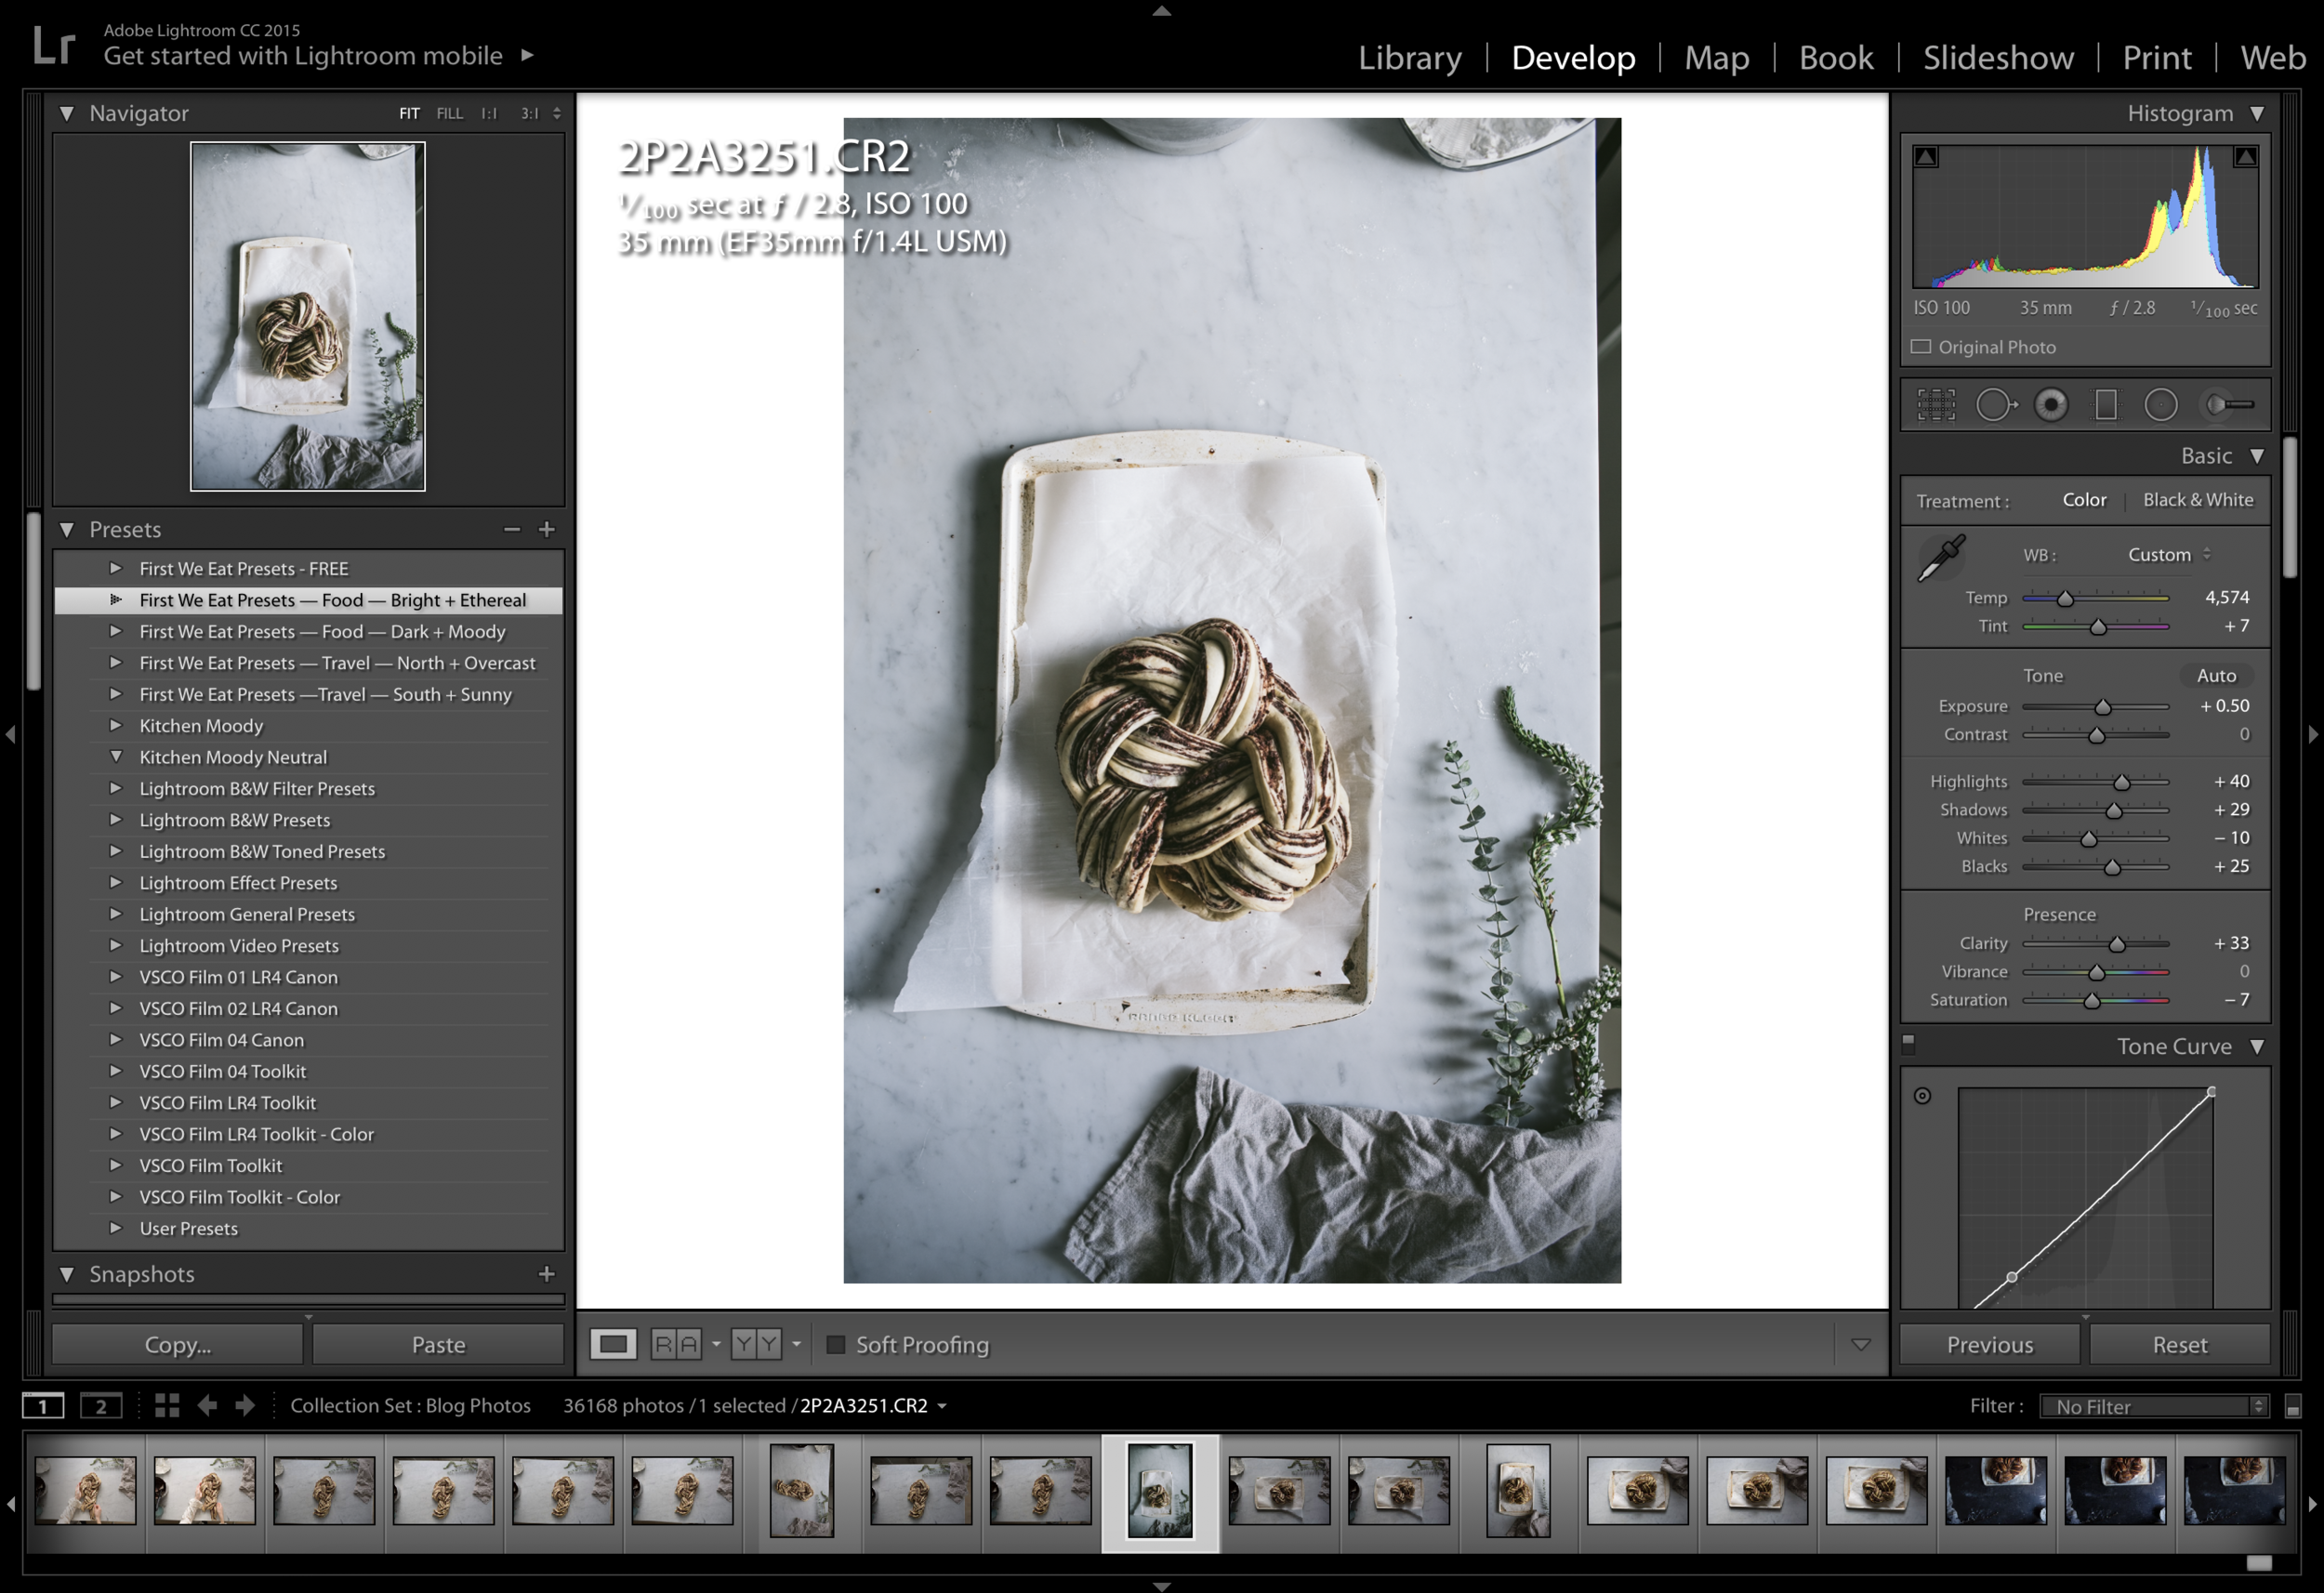
Installing .lrtemplate preset files on lightroom Classic CC version 7.2 or earlier

How to Import your awesome new presets into Lightroom
To import your presets, first make sure that they are unzipped if they have been downloaded as a zip file. To unzip them, simply double-click on the zip file and wait for a folder to appear in the same file location with the same name as the zip file. The preset files will be in that folder.
In the Lightroom menu at the top of the page, navigate to Lightroom -> Preferences.
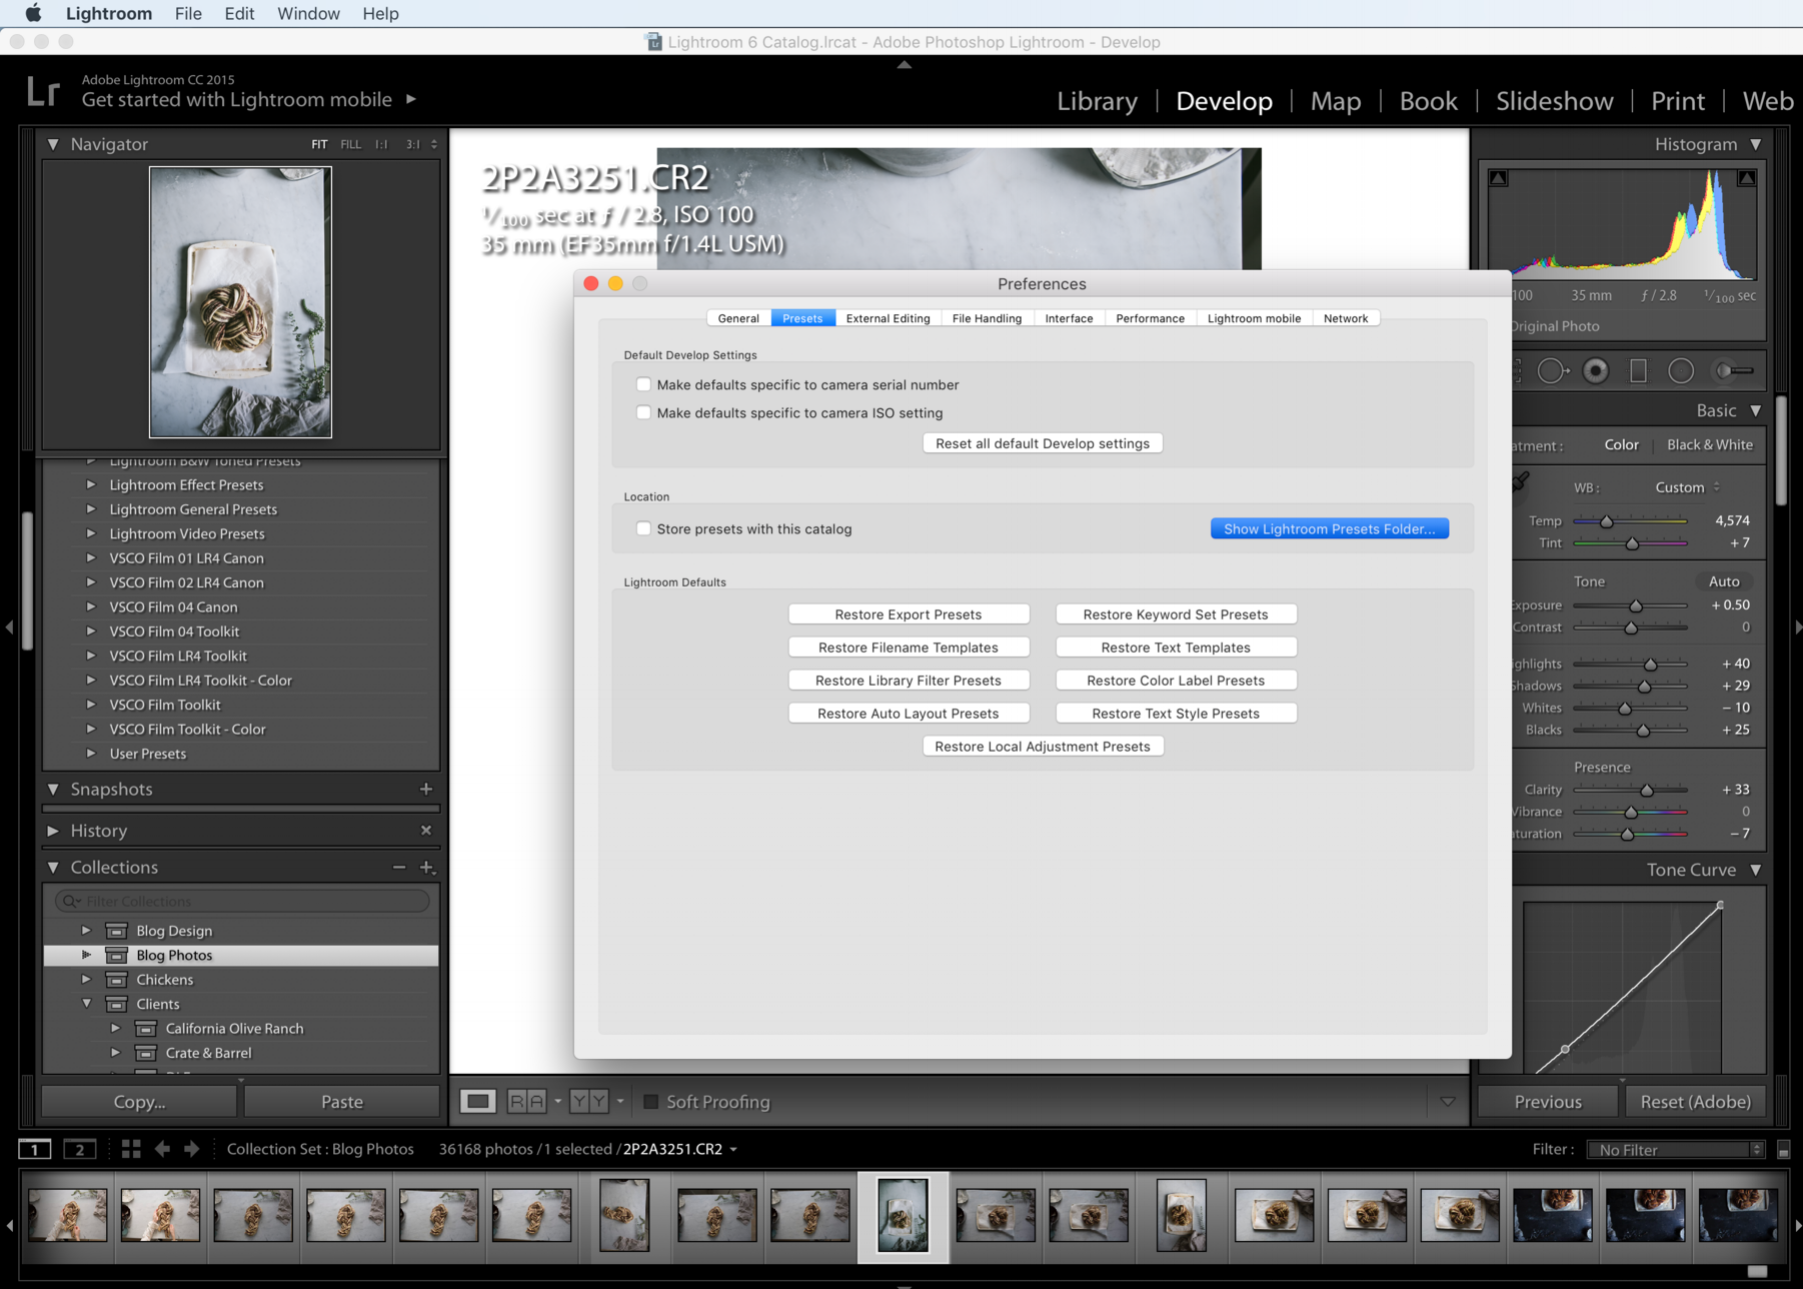
In the 'Preferences' window that pops up, click on the 'Presets' tab in the upper left portion of the window.
Towards the center of the window, click on the 'Show Lightroom Presets Folder' button.
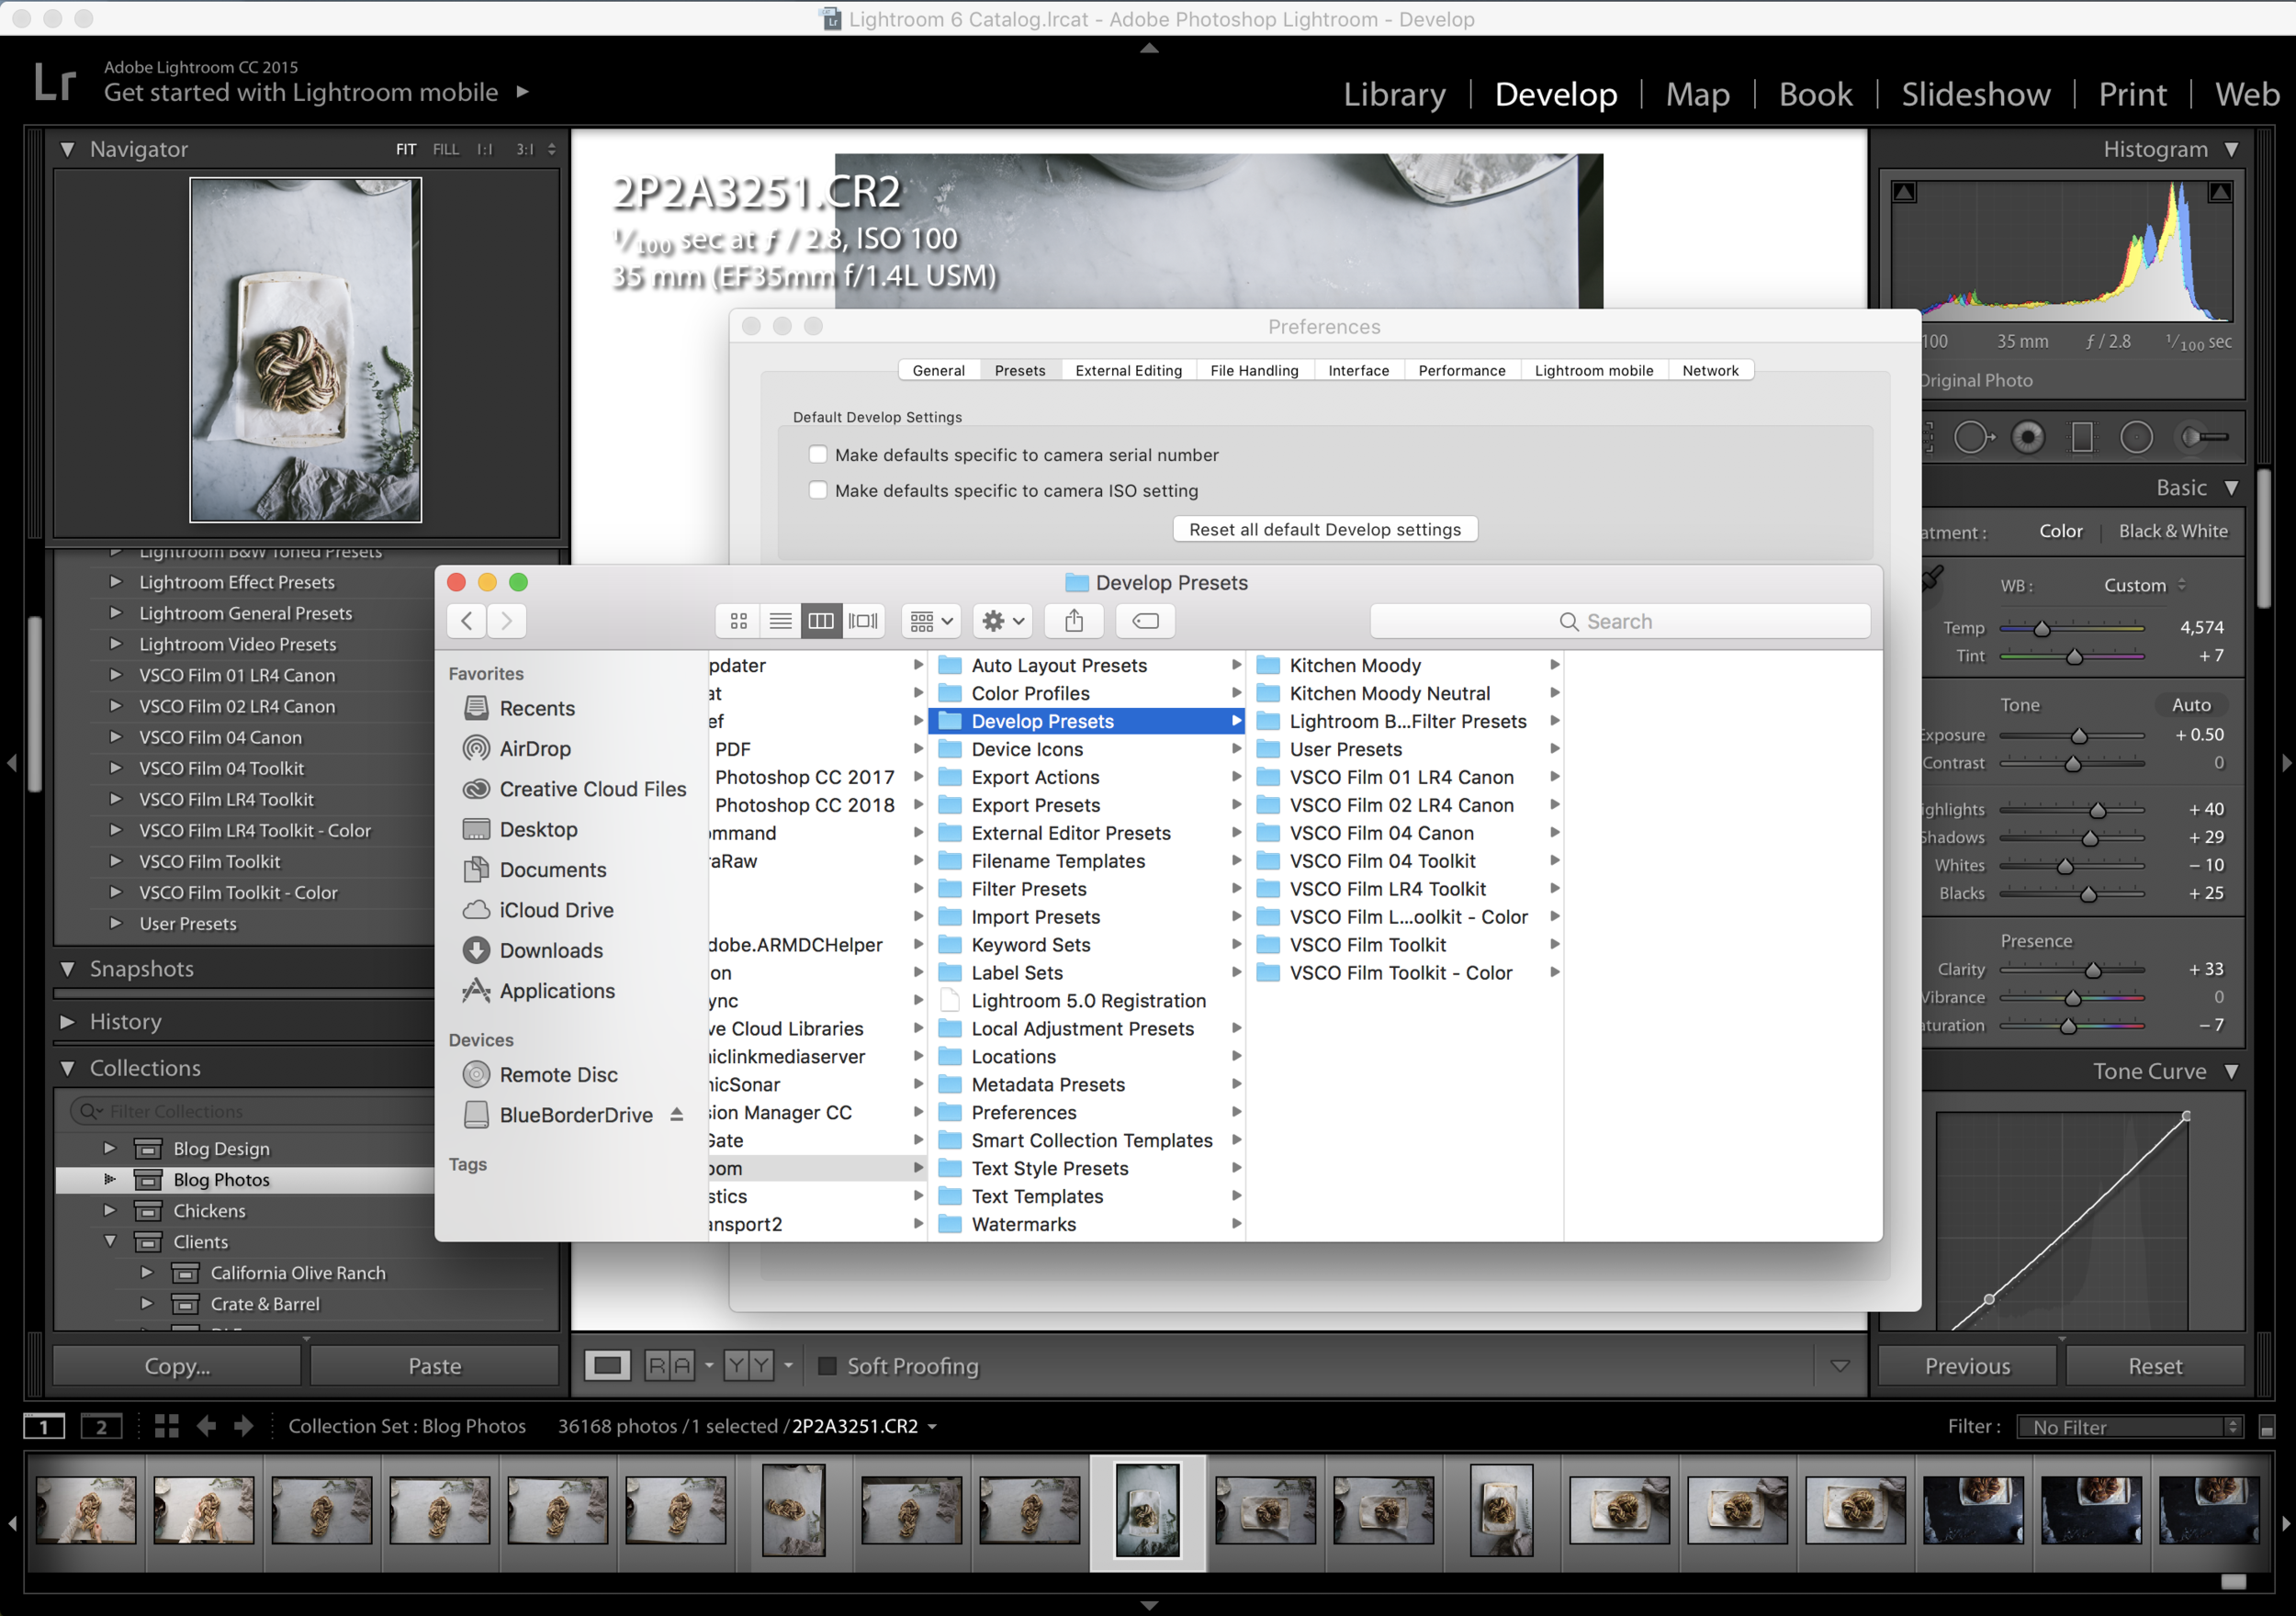
It will open a window with the 'Lightroom' folder selected. Look within the 'Lightroom' folder for the folder that says 'Develop Presets' and then click on it to select it.
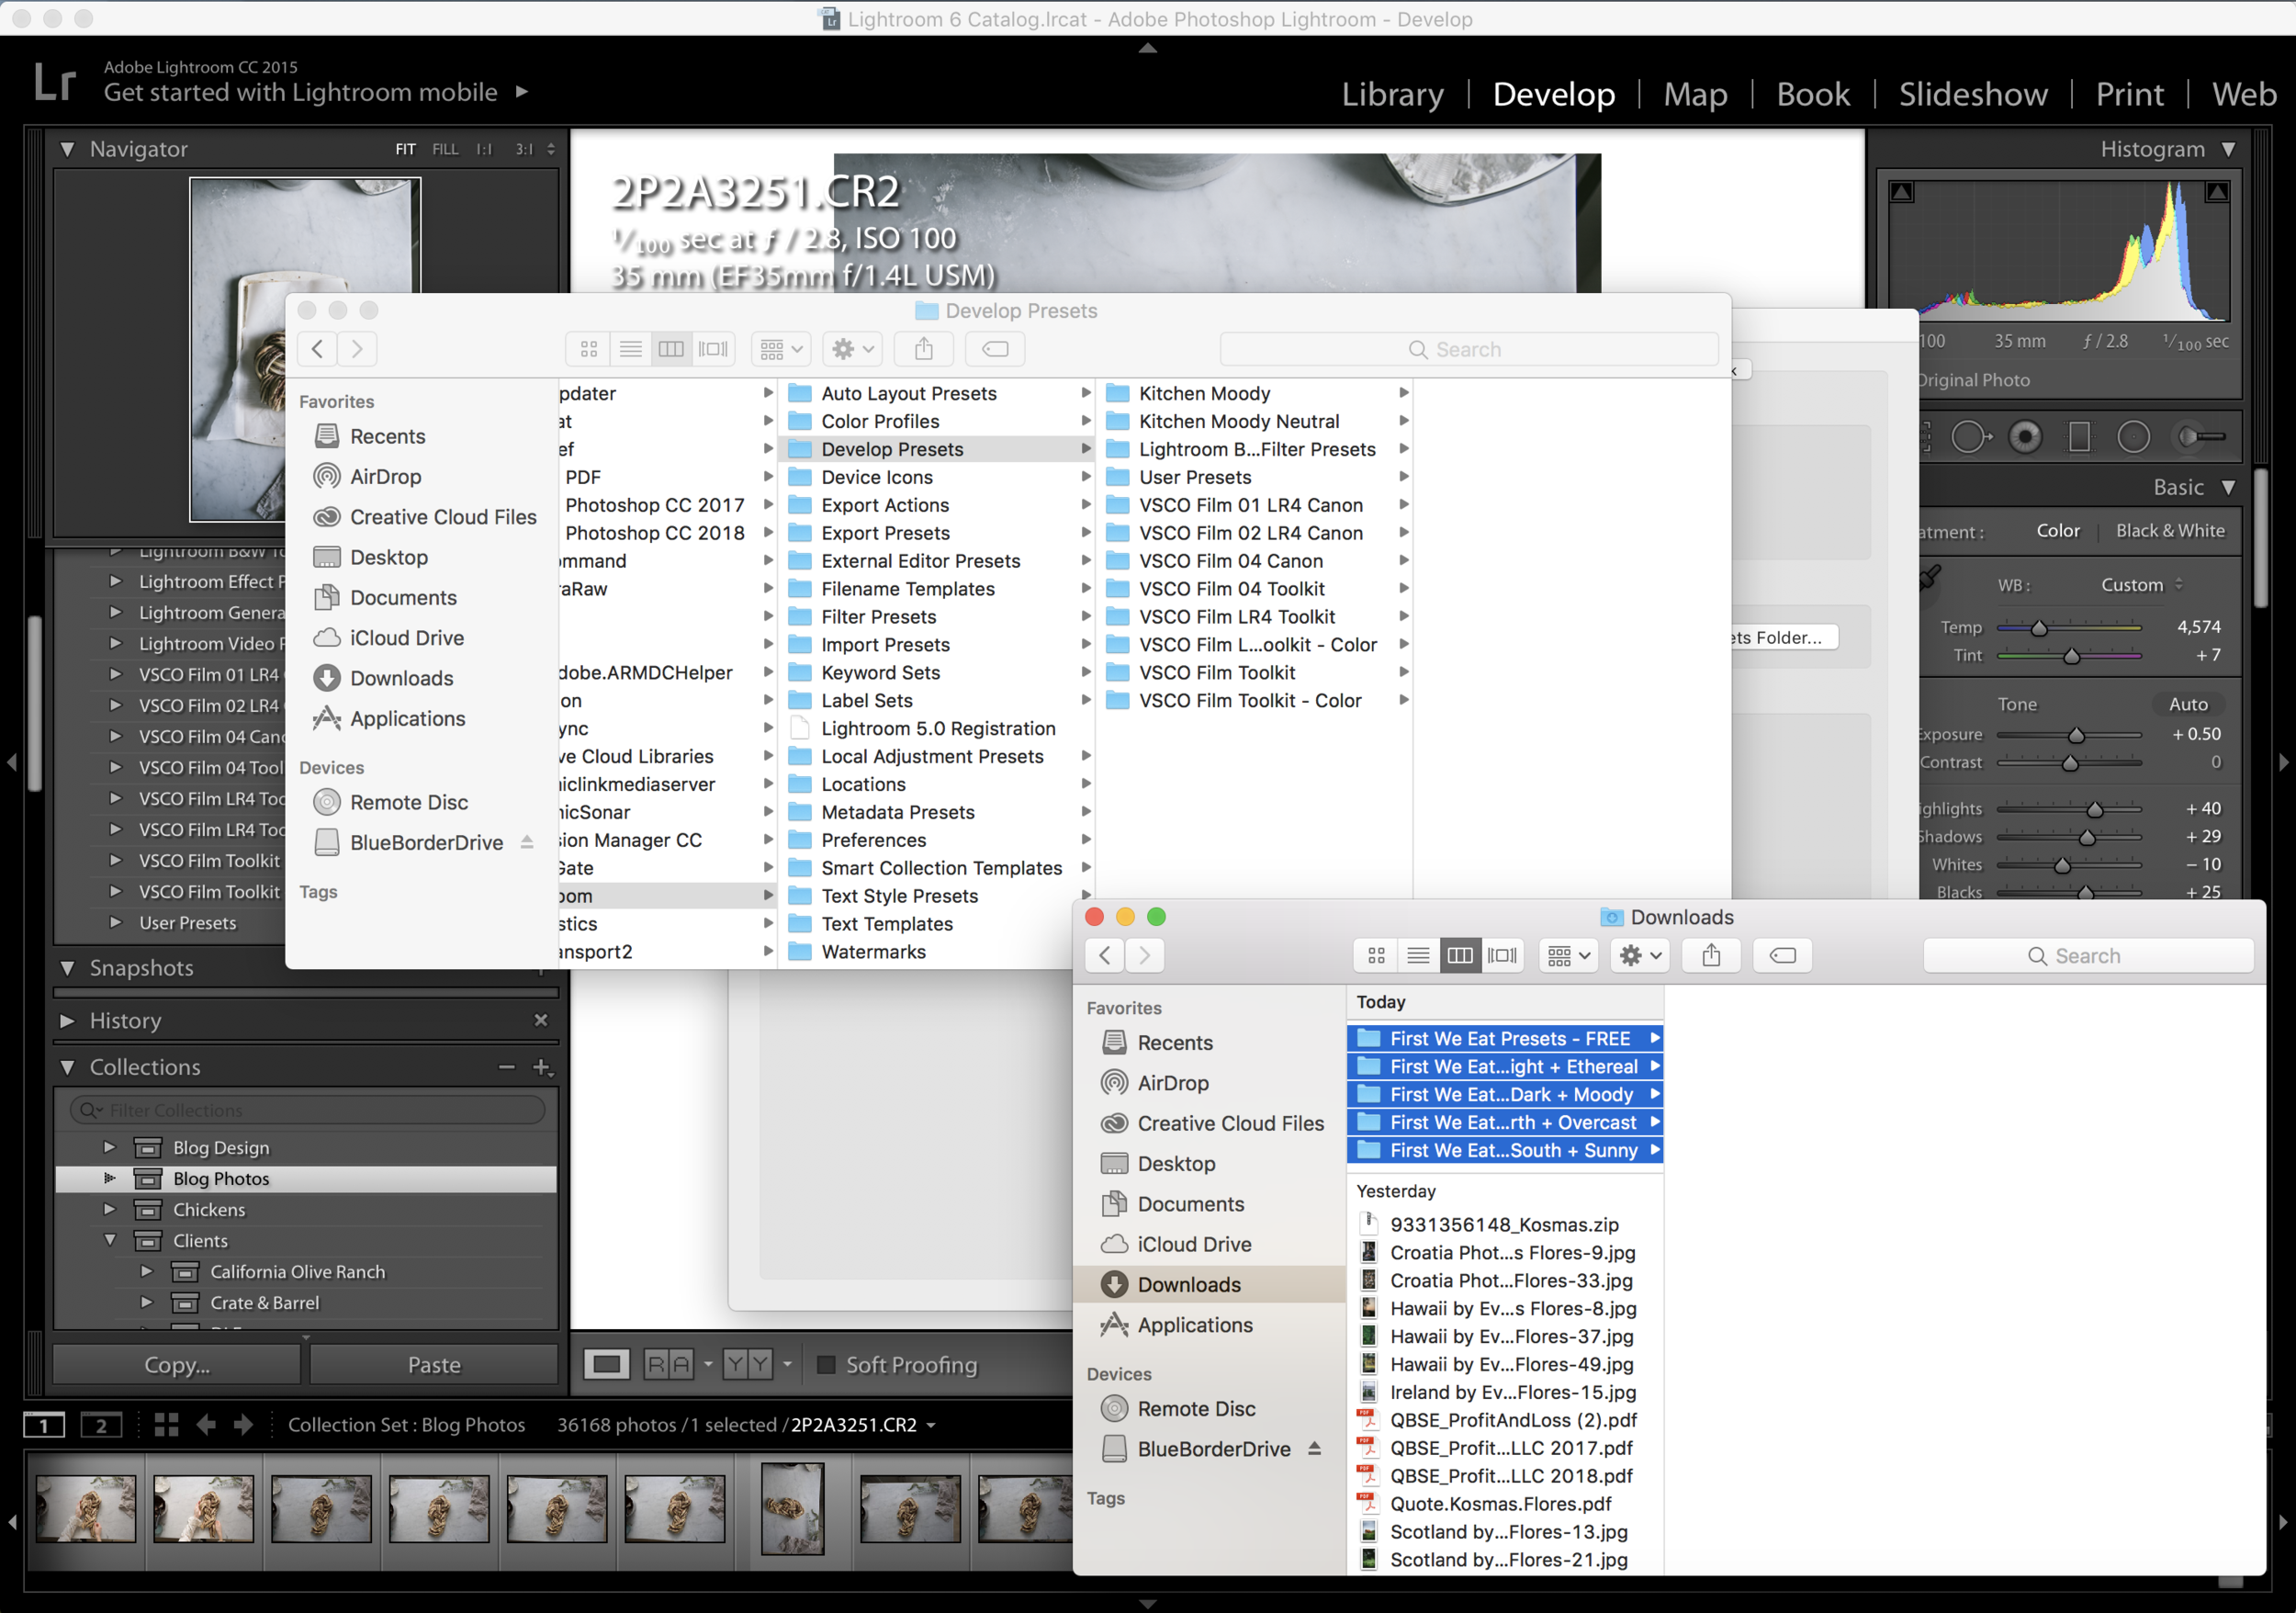
Now open a new window (DO NOT CLOSE THE DEVELOP PRESETS WINDOW) and select your Downloads folder.
Then select the First We Eat Preset folders you want to install (you can select multiple folders at once).
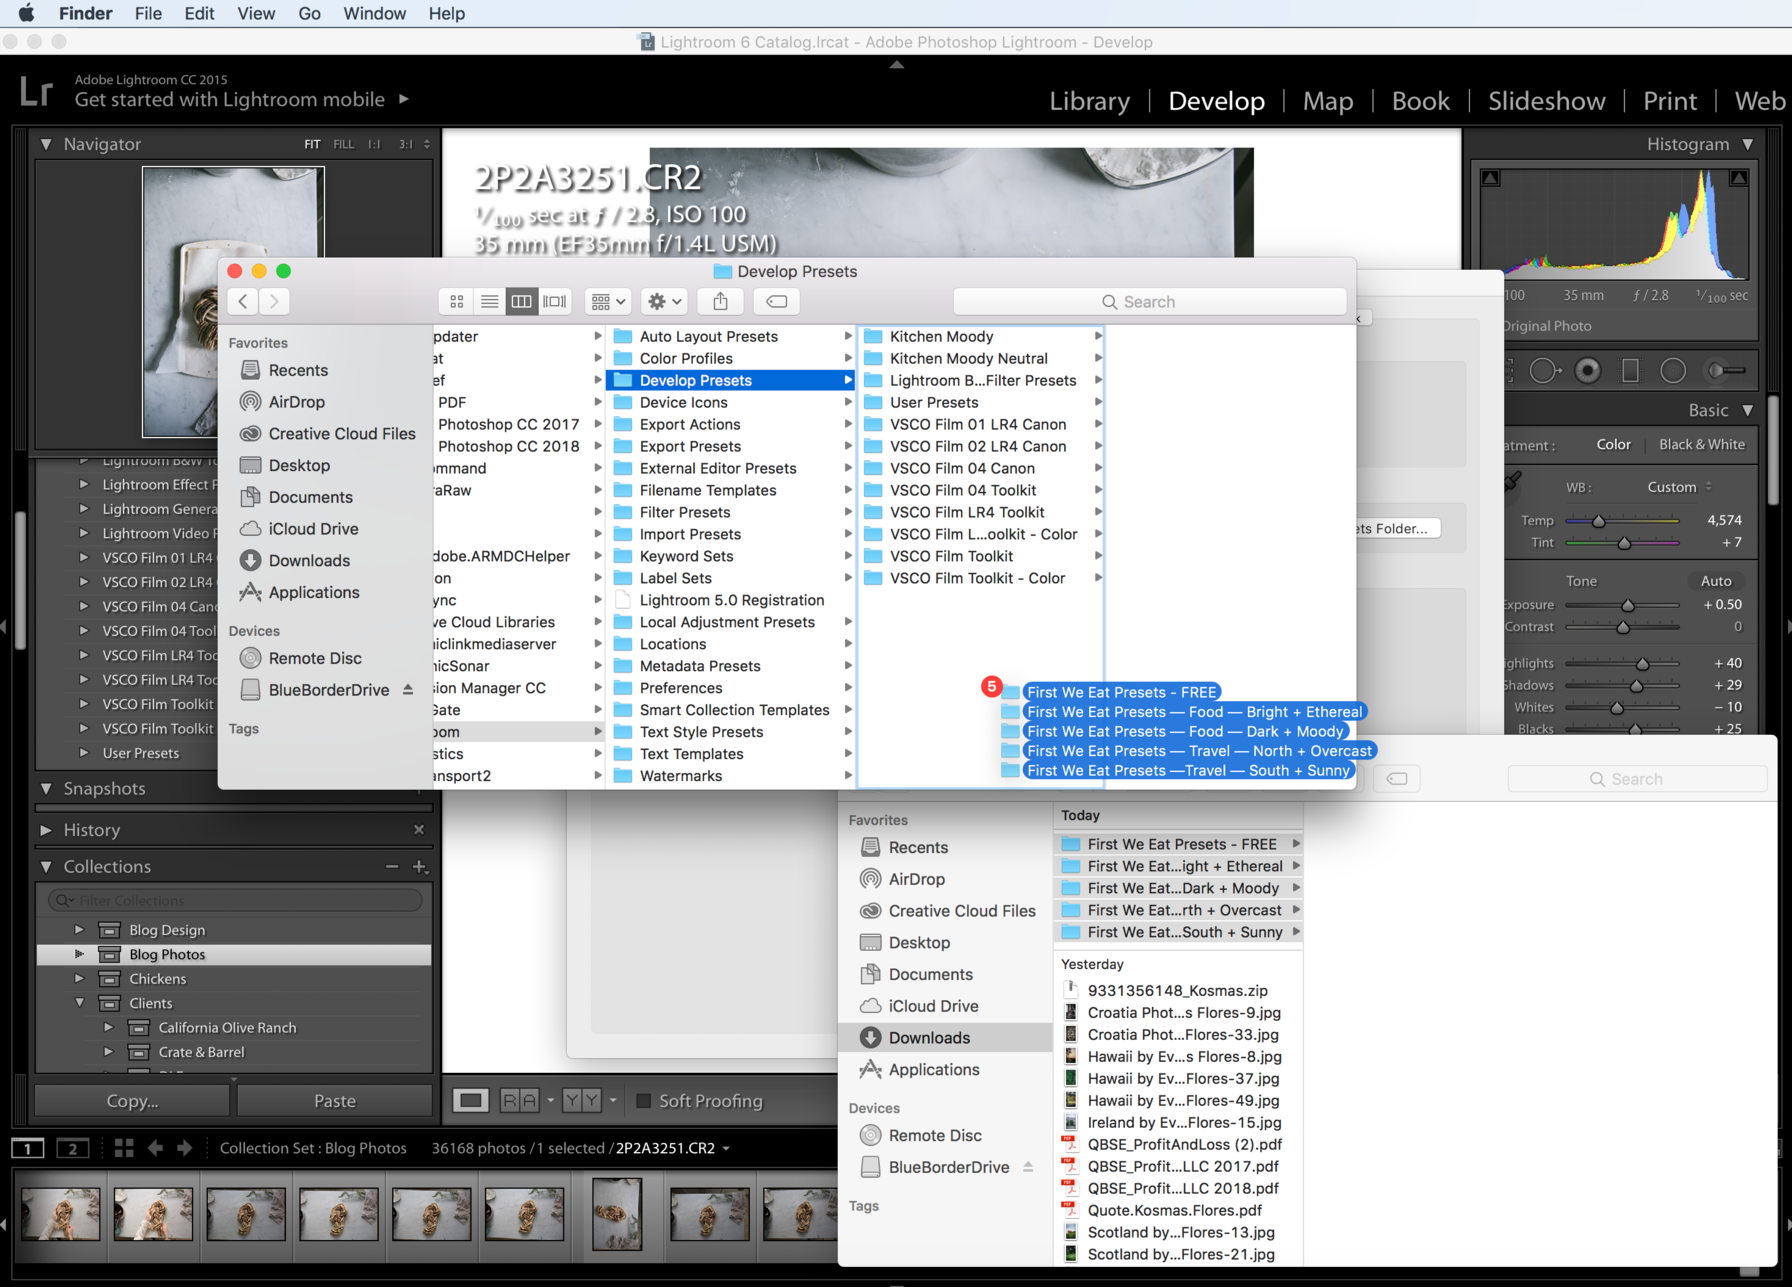
Drag the selected First We Eat Preset folders and drop them into the 'Develop Presets' folder.
Close the windows and close the Lightroom application. Re-open it, and your presets will now be in Lightroom on the left-hand side of the Develop tab. Click on the small triangle to the left of the folder name to reveal the presets inside each folder.
Congratulations! You just imported your presets into Lightroom, yayyyy!!
importing presets into Lightroom mobile cc USING DESKTOP CC

To import .xmp files into the Lightroom CC mobile app, you need to have the Lightroom CC desktop app installed on your desktop computer or laptop. You need to import the presets into the desktop Lightroom CC first, and then they will sync to your mobile app via the Adobe creative cloud.
NOTE: Lightroom CC is a different desktop application than Lightroom Classic CC, Adobe explains the difference at the bottom of the web page here. You can also watch this video that details the differences, as well.
— Make sure you are logged into your Adobe creative cloud subscription via the Adobe Creative Cloud application on your computer, and make sure your computer is connected to the internet. Open the Lightroom CC desktop application on your computer.
— Go to File -> Import Profiles & Presets

— Select the folder on your computer with the preset folder inside of it. Click the ‘Import’ button.
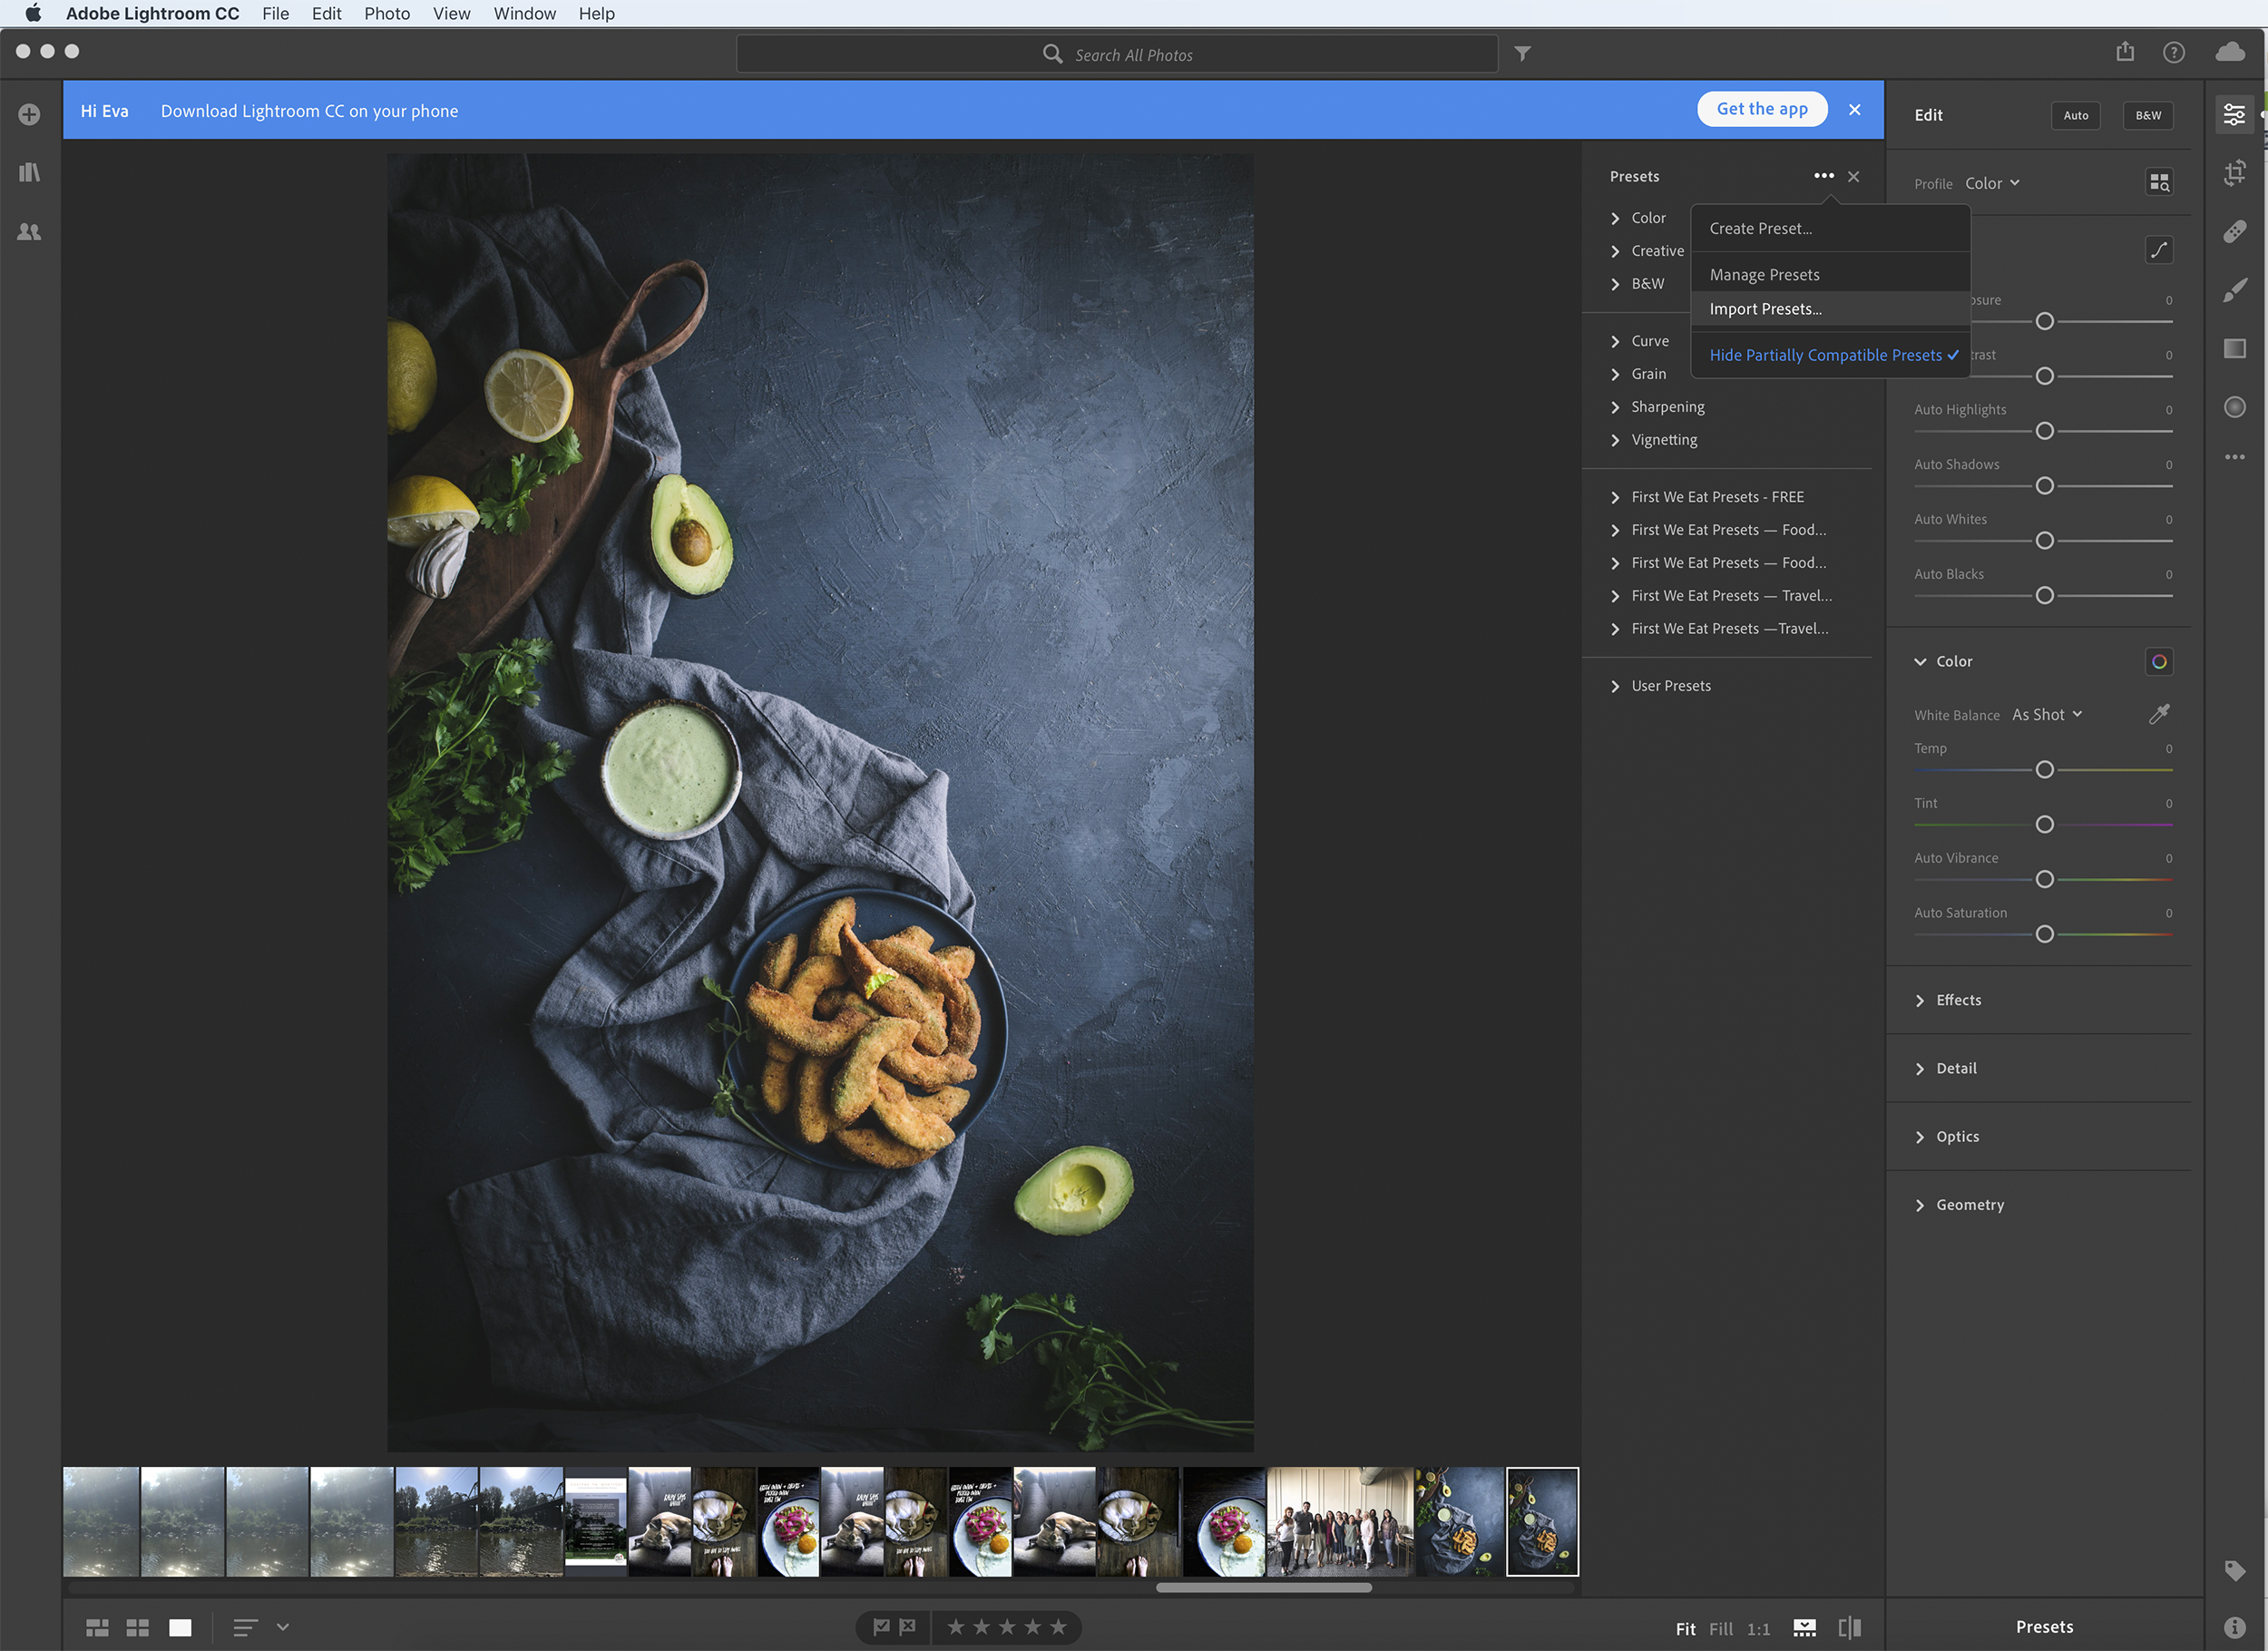
— Alternatively, you can also click on ‘Presets’ in the lower right hand corner to bring up the preset panel.
—Click the three dots in the upper right of the preset panel, and select ‘Import Presets’. Follow the same step in the previous slide.
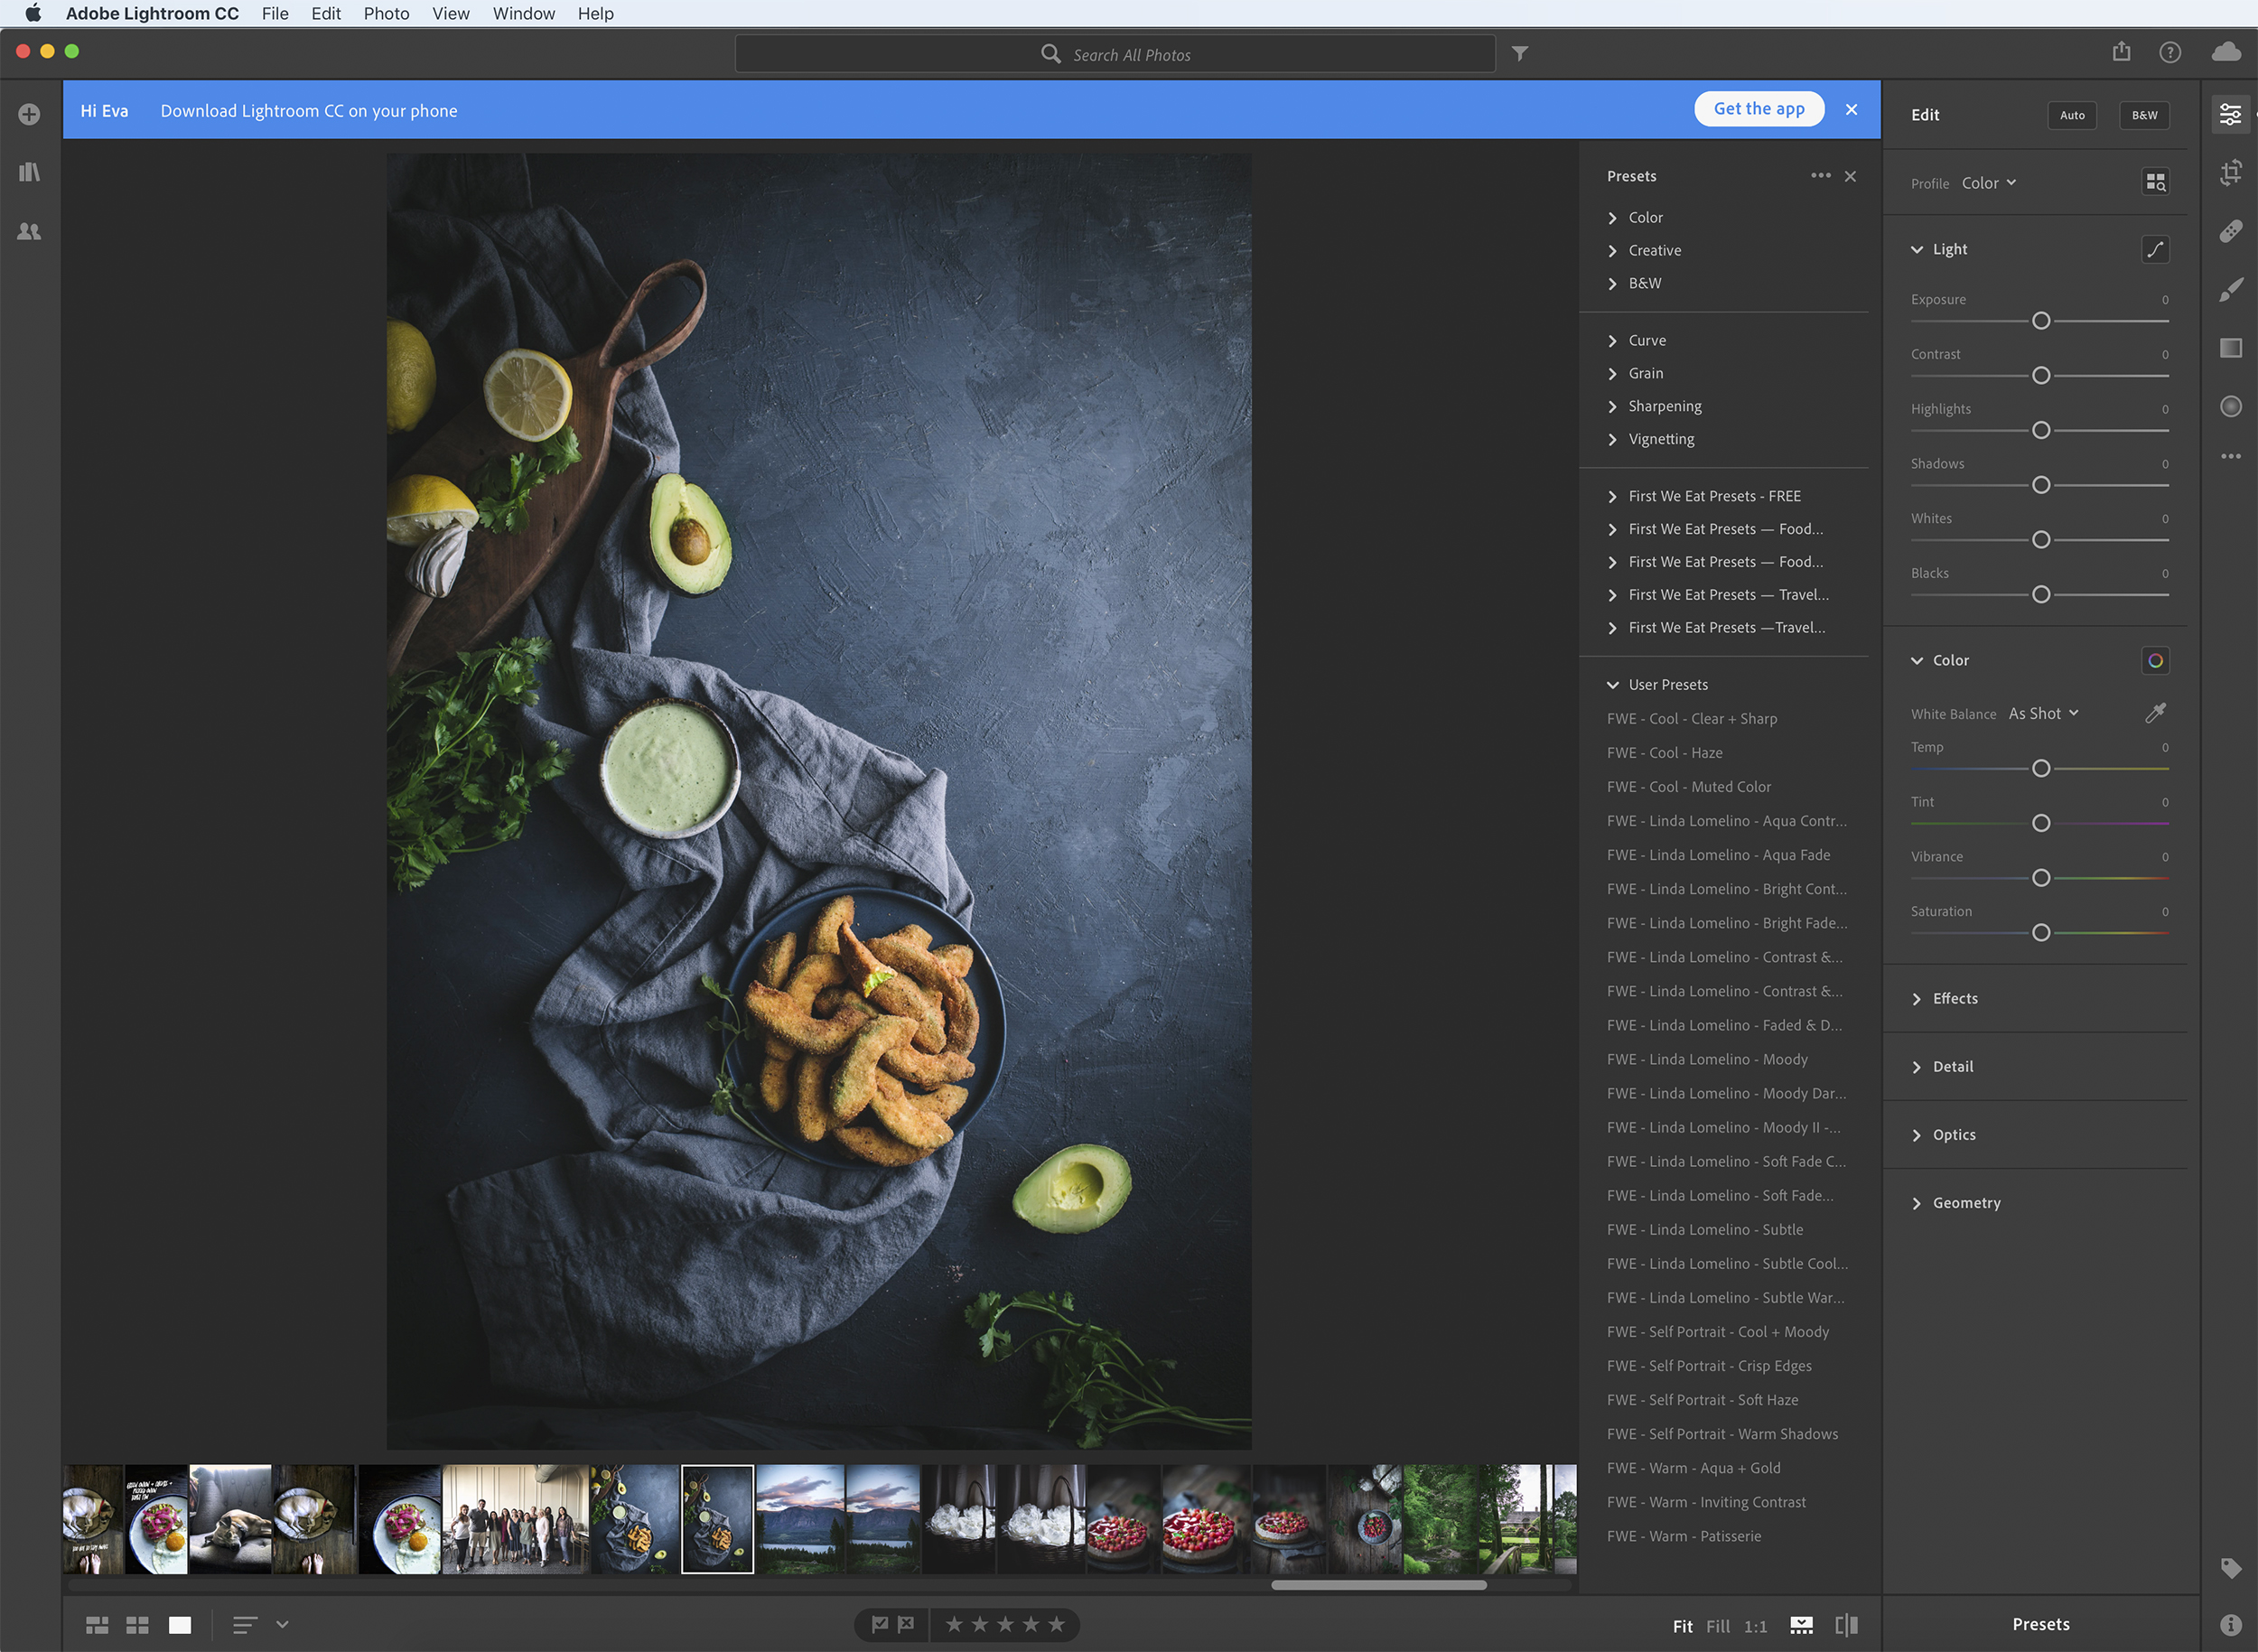
— Ideally, the presets will be imported in their native preset folder. HOWEVER, Lightroom CC has been very buggy for me and sometimes refuses to import the original folder, and just pulls out the presets and puts them in the ‘User Preset’ folder, as seen above.
—If you’re organized like myself and like to keep your preset sets in their respective tidy appropriately-named folders, you’ll need to make a folder with the following steps and move the presets into it.

— Right click on one of the presets you just imported in the User Presets folder.
— Select ‘Move To Group’, then ‘New Group’
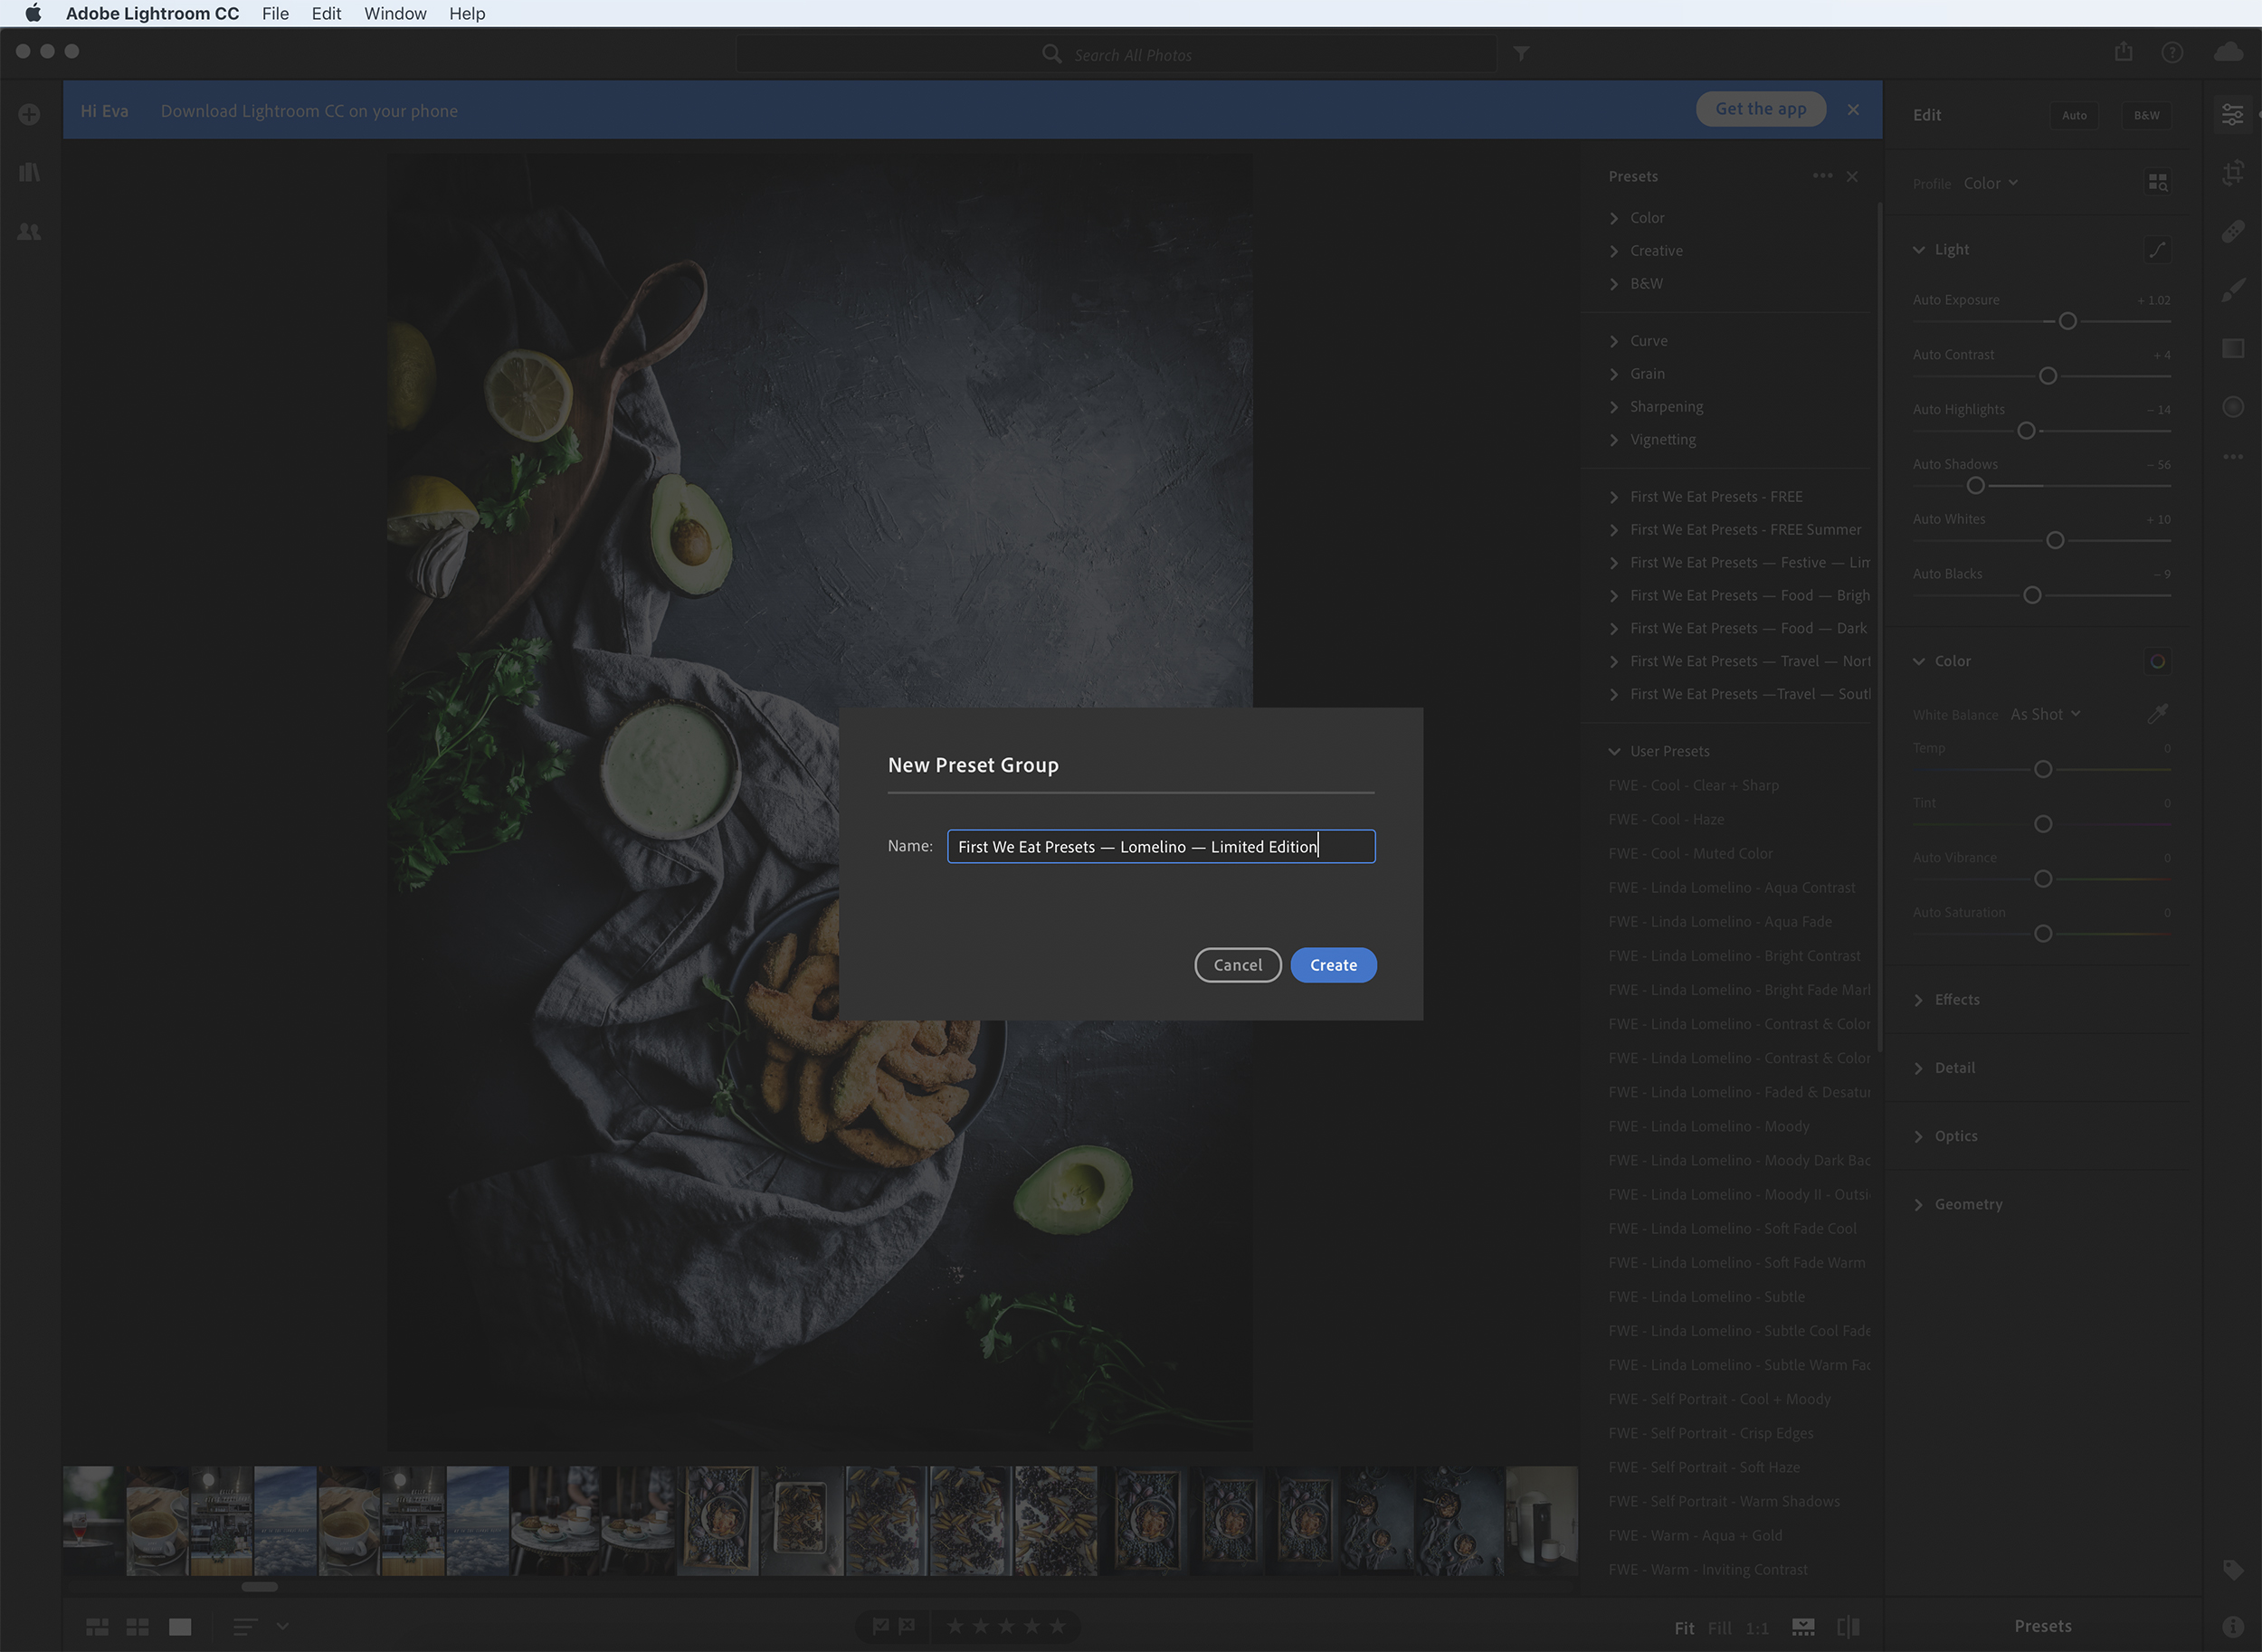
— Give the preset folder the same name as the downloaded preset folder.
— Click ‘ Create’
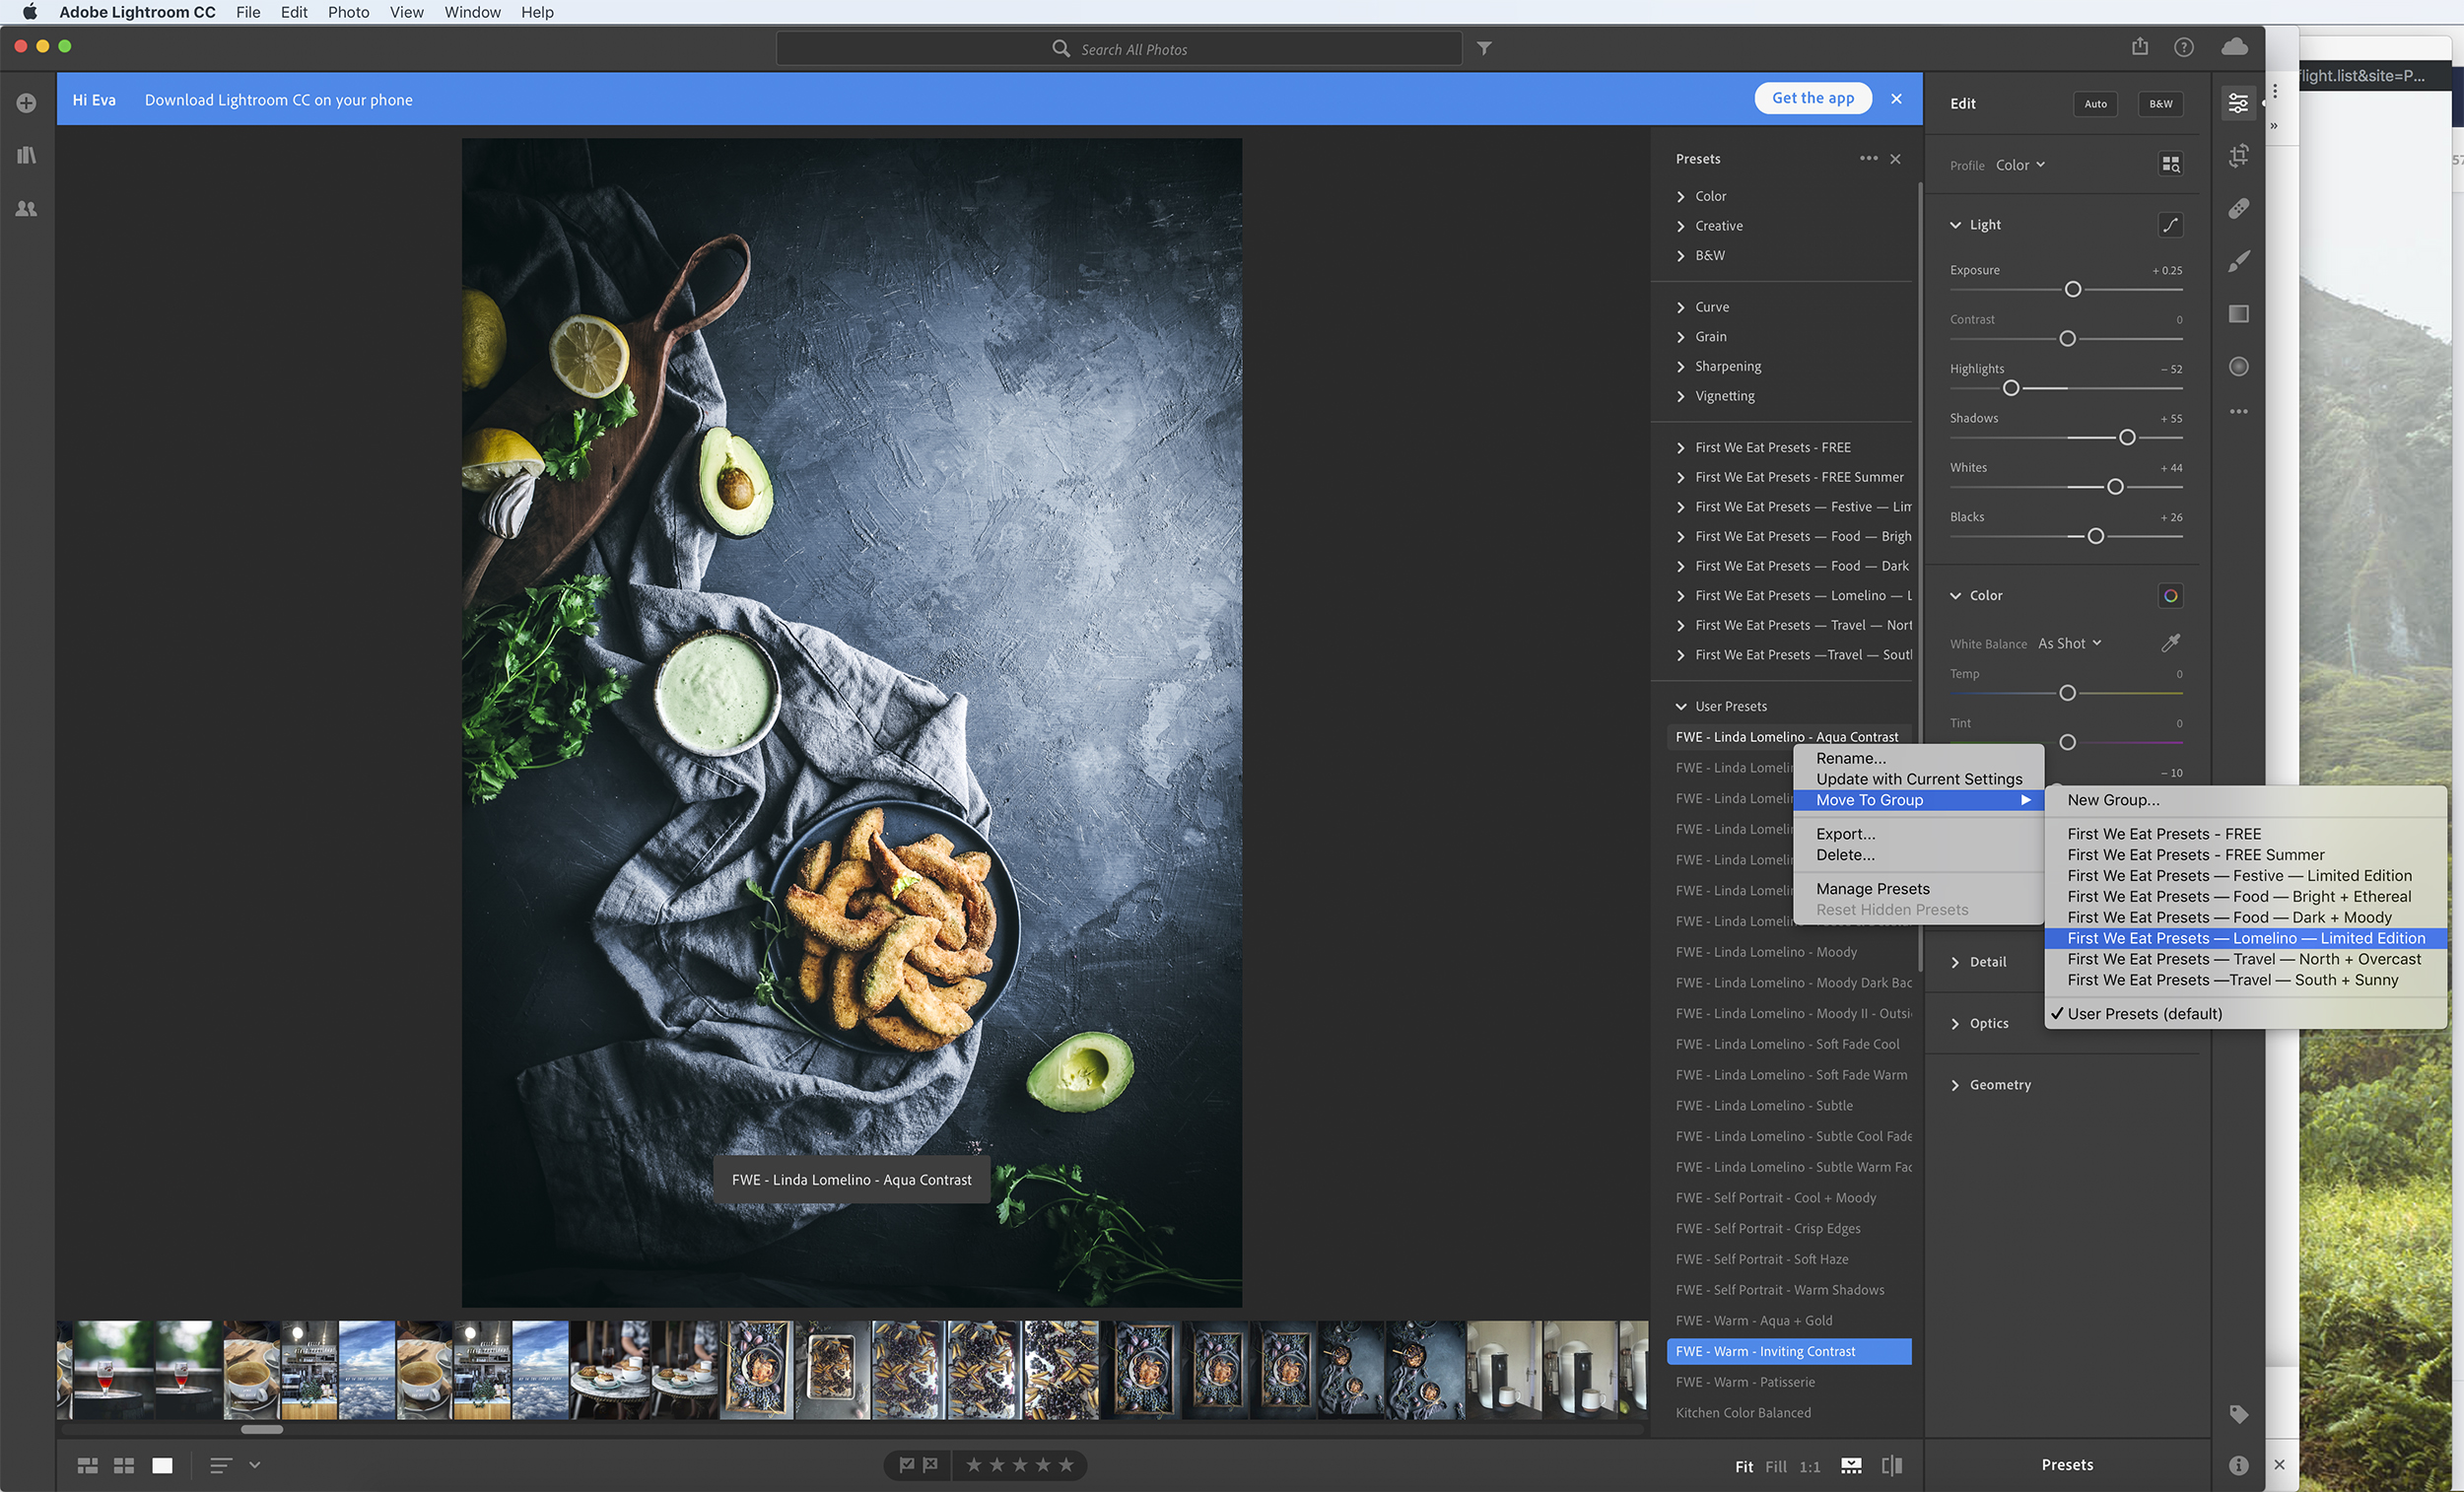
— As of January 2019, the Lightroom CC desktop app doesn’t allow you to select multiple presets at once, so you need to move them one at a time (annoying, I know. Hopefully this is something they address in a future update).
— Right click on the preset, select ‘Move to Group’, and select the group you just created.
— Repeat with all the appropriate presets.
— Exit the Lightroom CC desktop application.
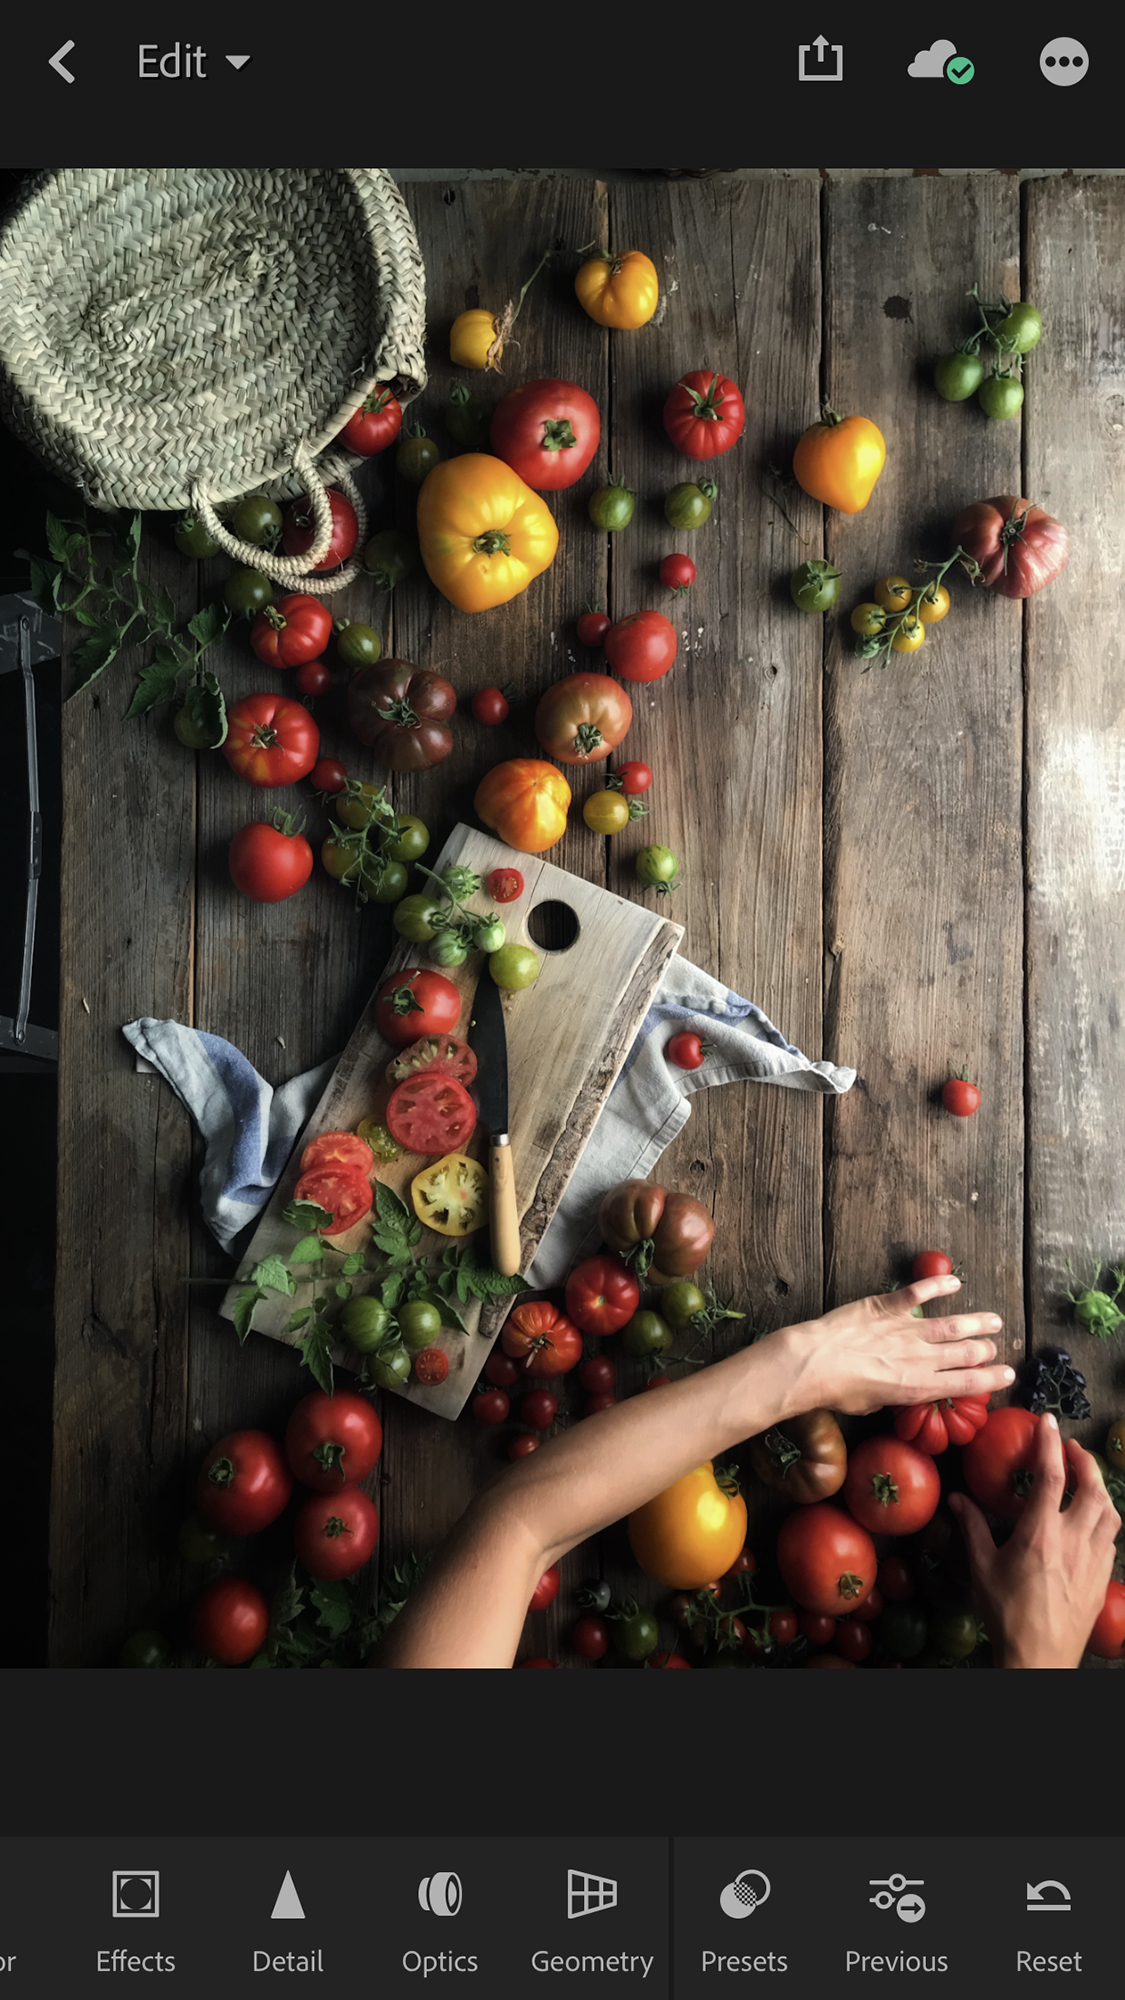
— Open the Lightroom CC mobile app on your mobile device.
— Make sure you are logged into your Adobe Creative Cloud subscription account on the mobile app. If you are not logged into the same account you used your desktop Lightroom CC app under, the presets will not sync. It has to be the same account.
— Navigate to the ‘Presets’ icon in the bottom right of the tool bar, tap on it.
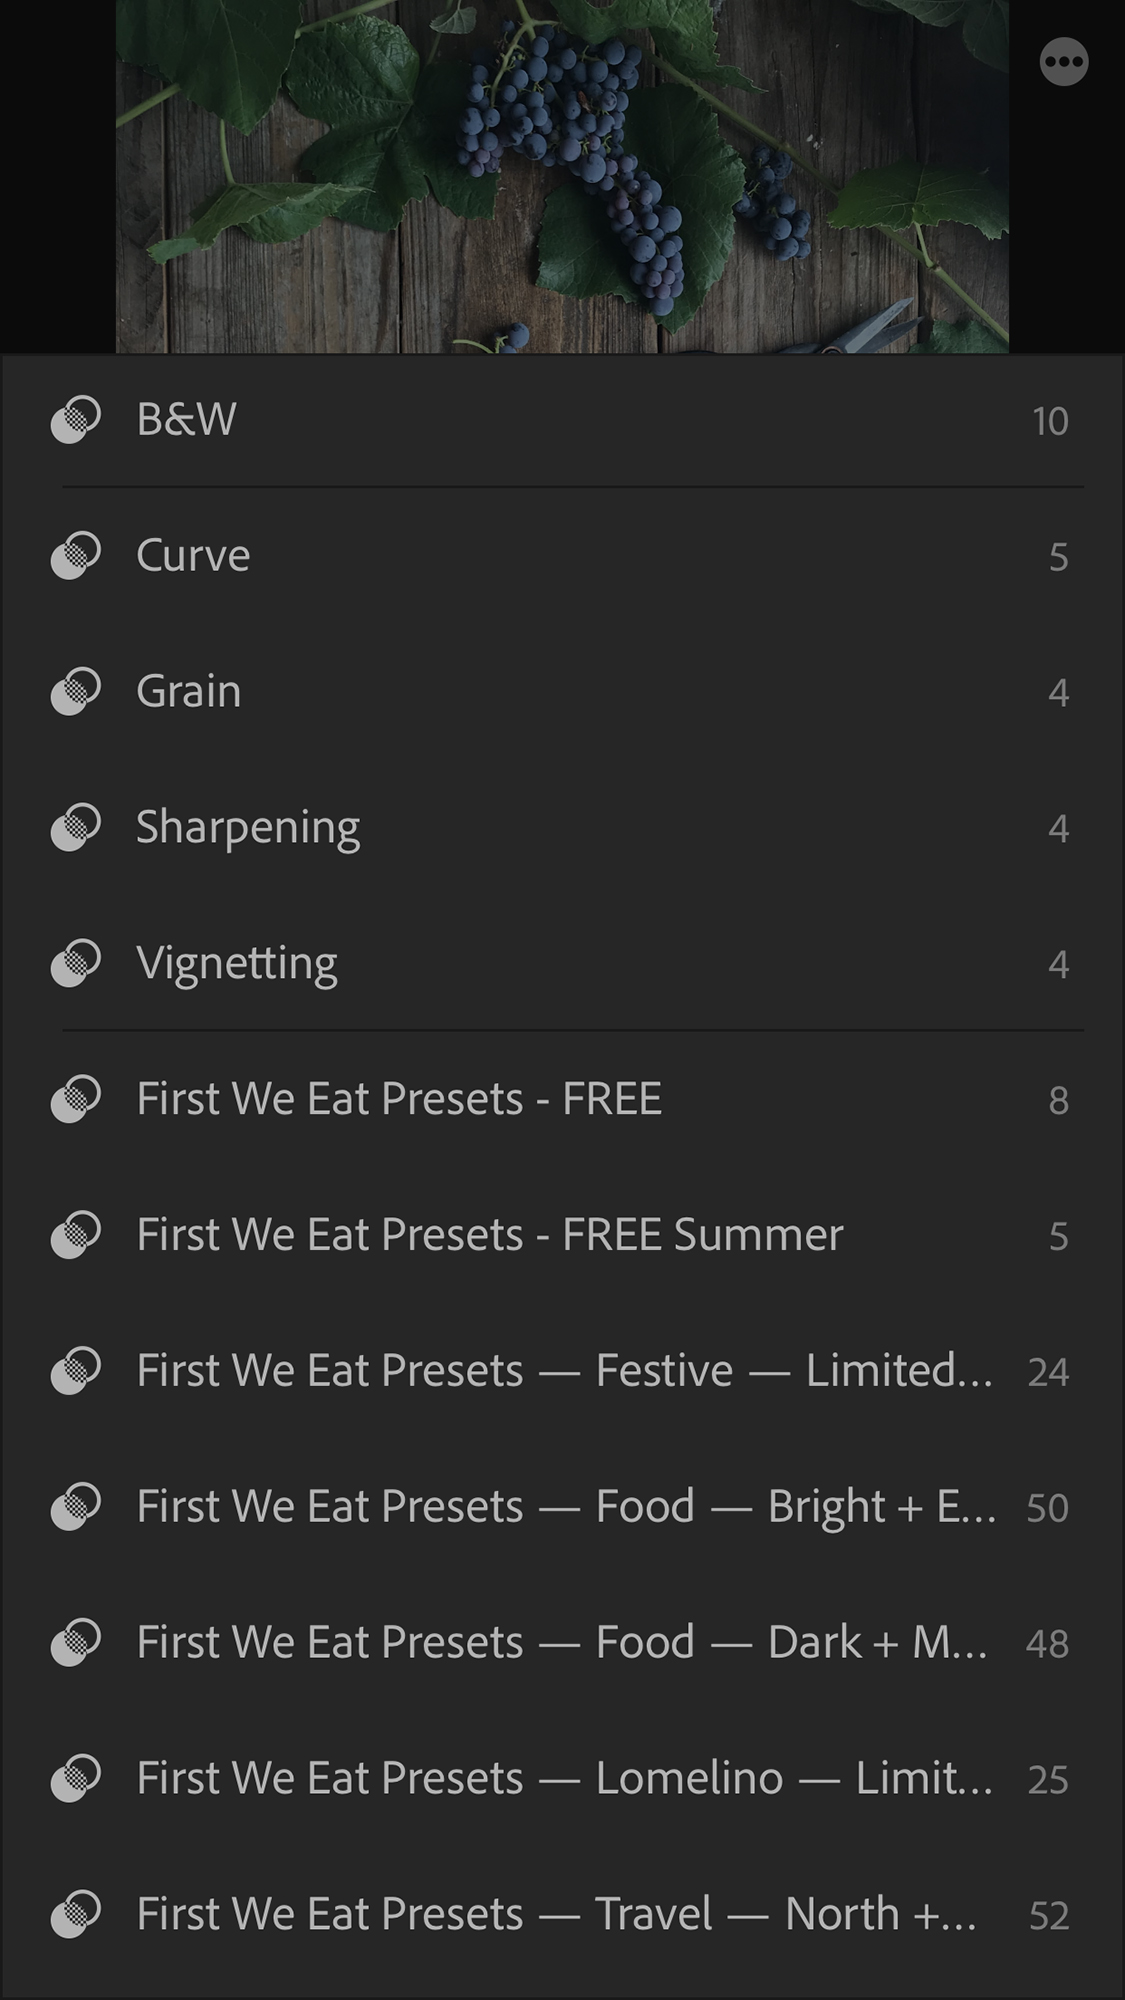
— It will show you the preset folders you have installed. They should be the same ones you have installed on your desktop Lightroom CC application.
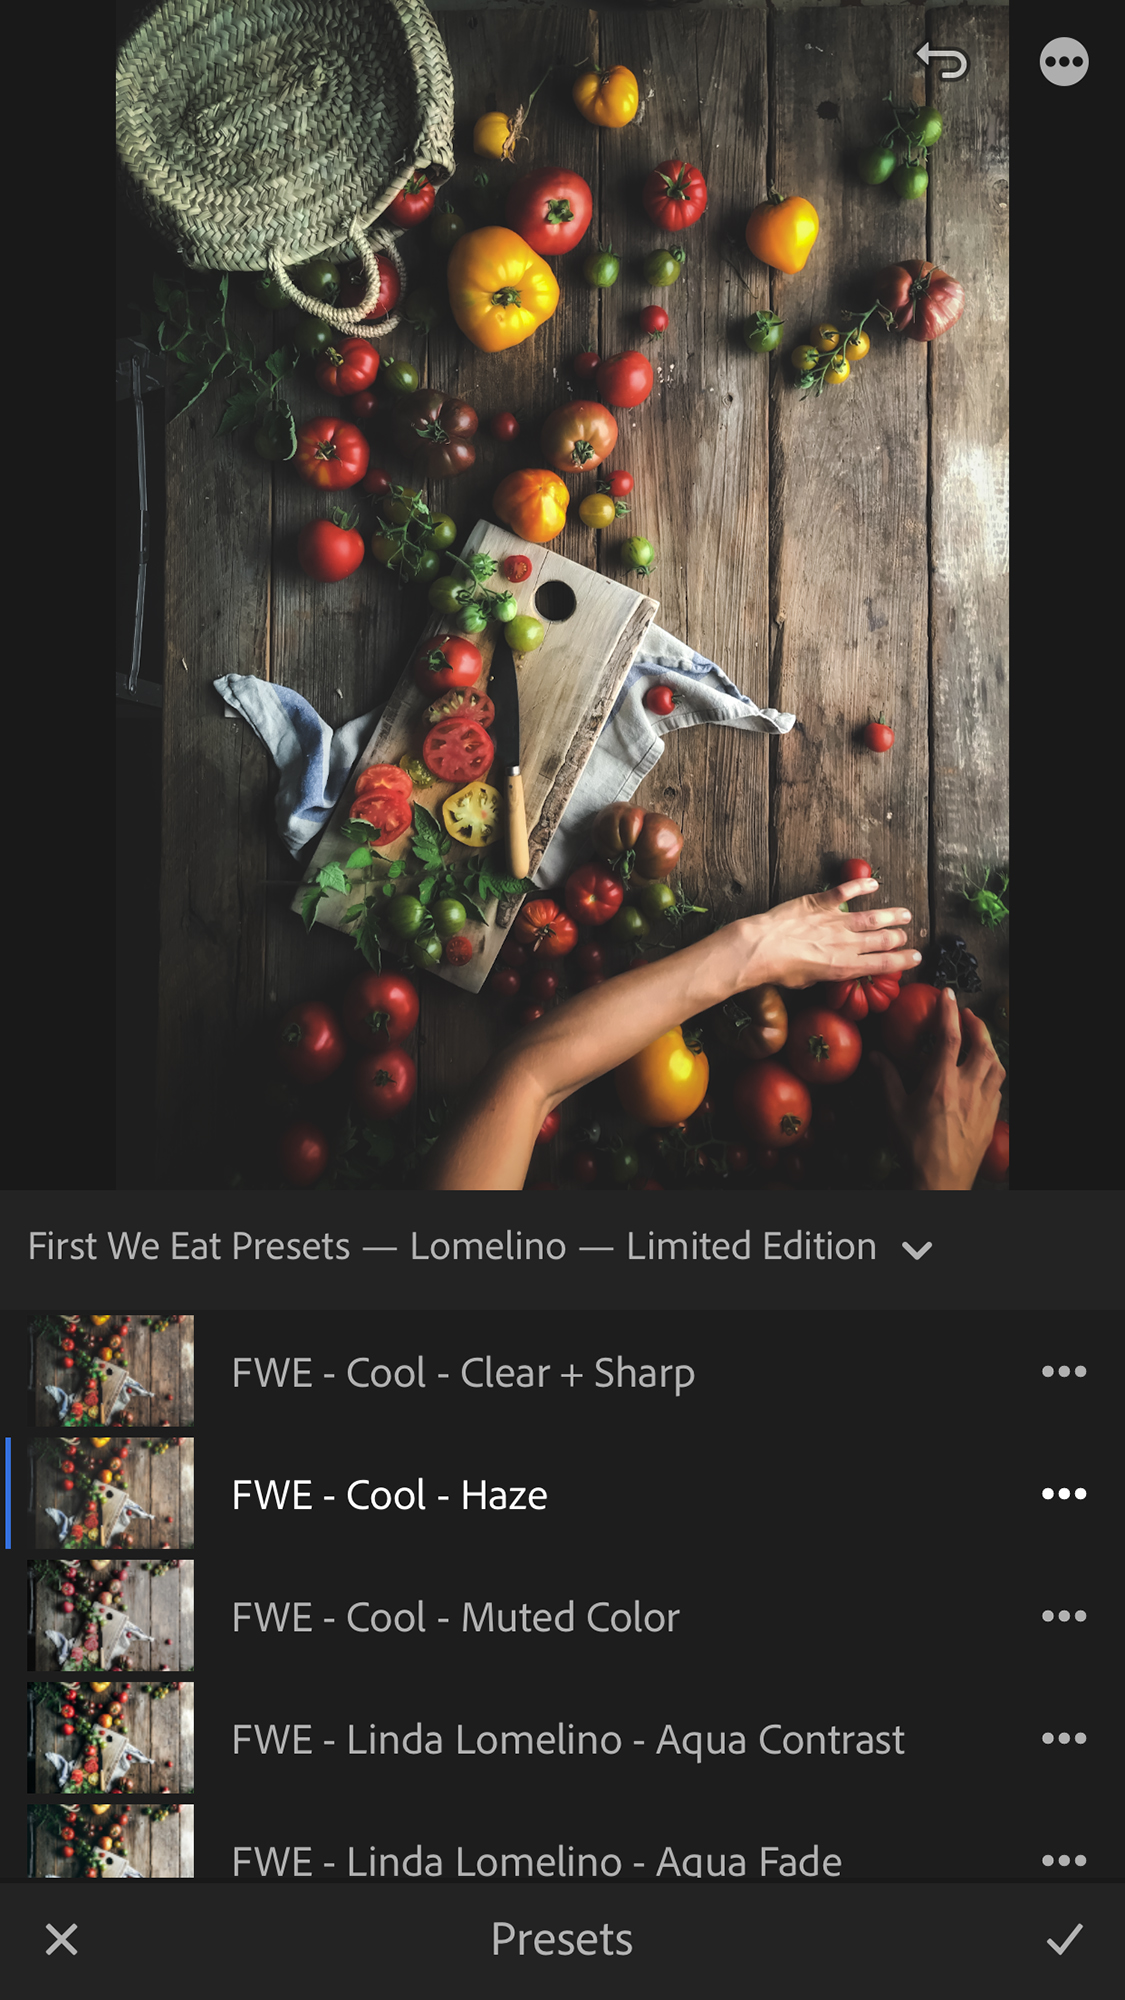
— Tap on a preset folder to show the individual presets inside of it.
— Tap on the individual preset to apply it to your mobile photo. Voila!